Objectives
This section is to set up the Jira project to store the mappings between the Application to the Data Owner, System Owner and System Admins.
The App Mapping project is only an example. You can use another Jira project with a different issue type as a replacement.
Steps
Overview
This section has more steps
-
Set up the Lookup Mapping issue type
-
Create a new project using a template
-
Modifying the issue types
-
Updating the screens
-
Granting access by updating the project roles
-
Populating the entries as issue
-
Creating a search filter to facilitate reference
1. Set up the Lookup Mapping issue type
-
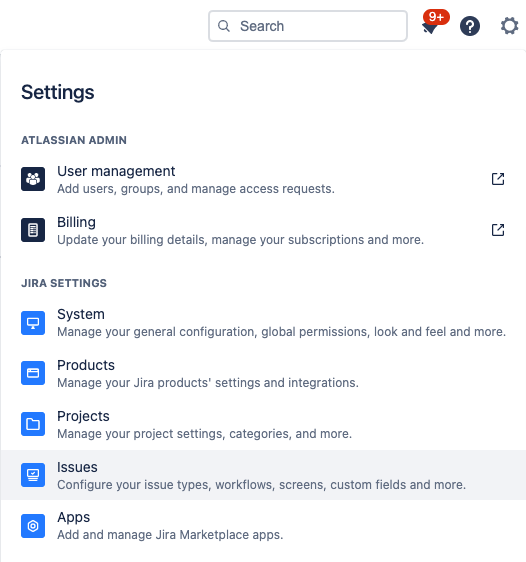
Go to Settings > Issues
-
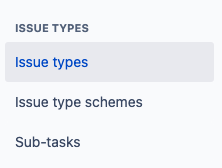
Select Issue Types from the left side menu
-
Click on Add issue type button on the top right corner

-
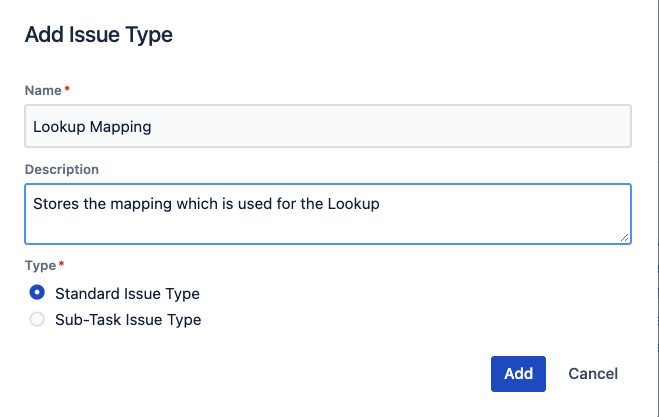
Fill in the info
-
Name: Lookup Mapping
-
Description: Stores the mapping which is used for the Lookup
-
-
Click on the Add button
2. Create a new project using a template
We use the Task Tracking as a template and modify the schemes to speed up the process
-
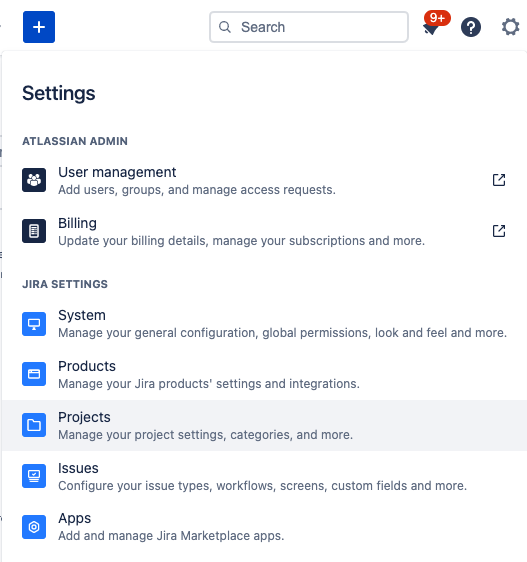
Select Settings > Projects
-
Click on Create project

-
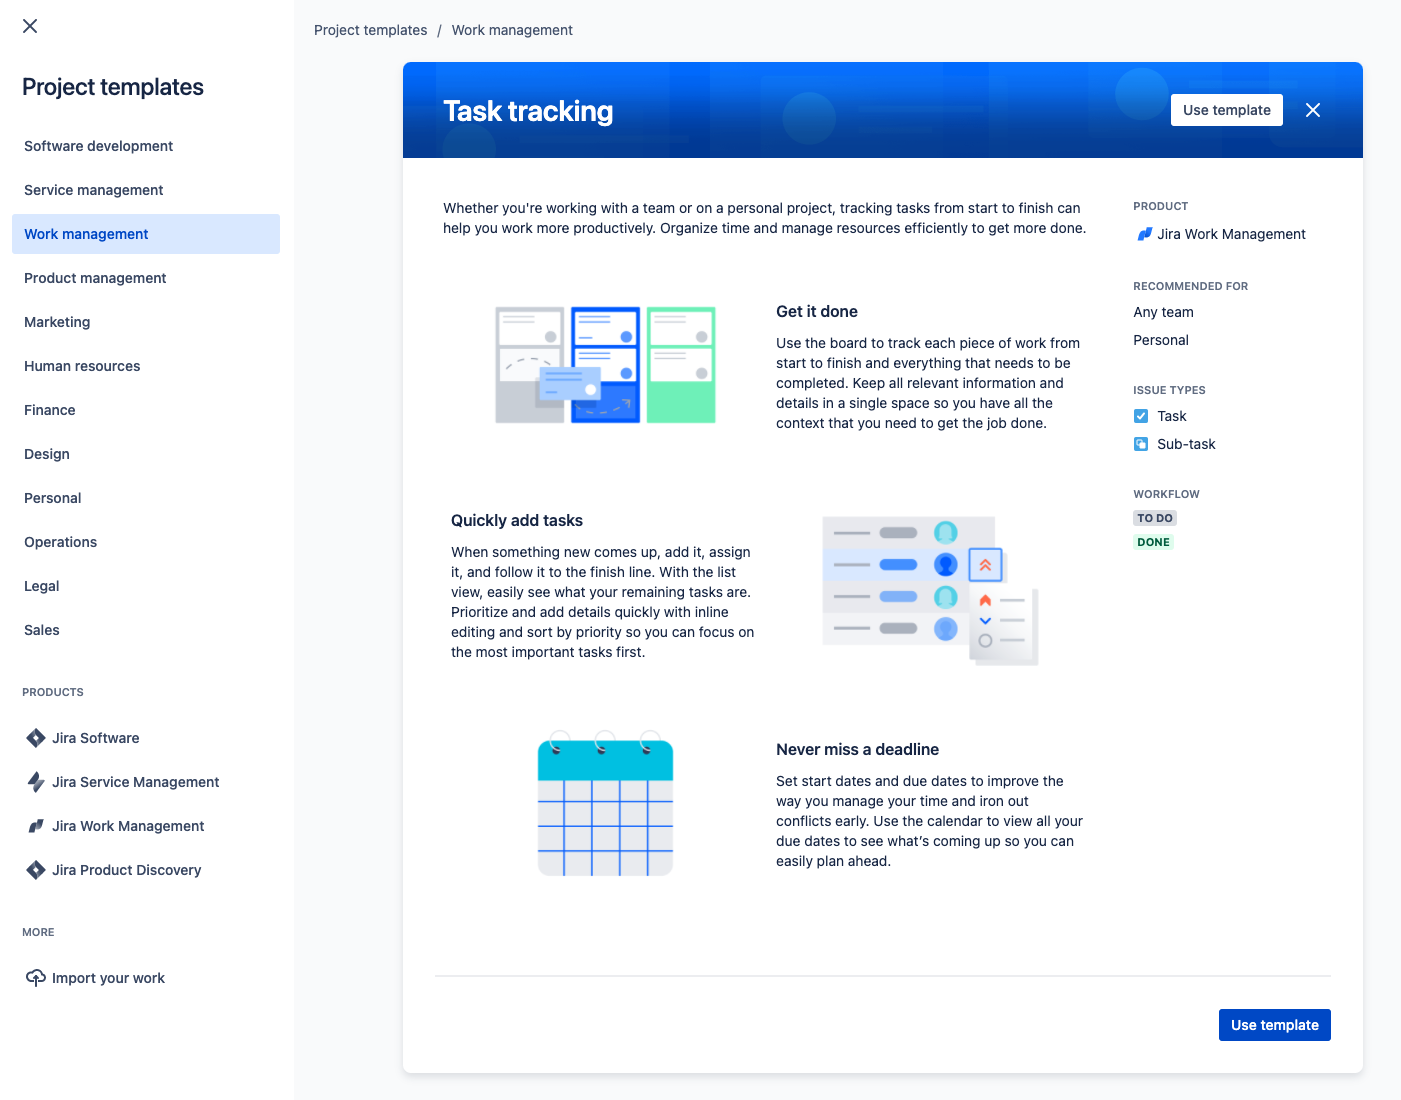
Select Work Management from the left menu and then Task Tracking
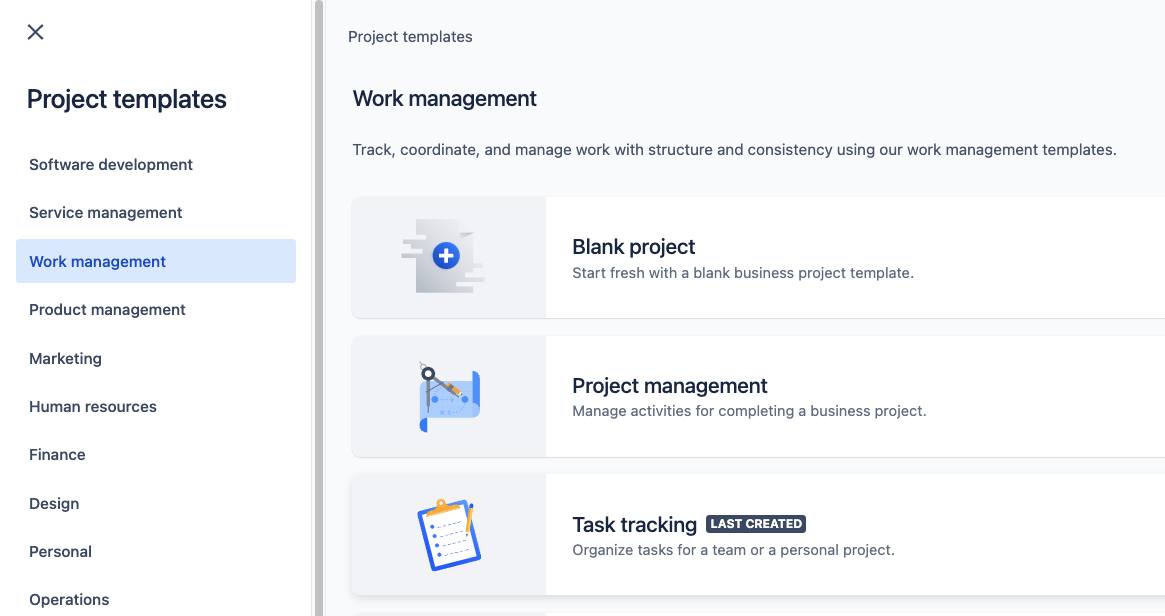
-
Click on the Use template button
-
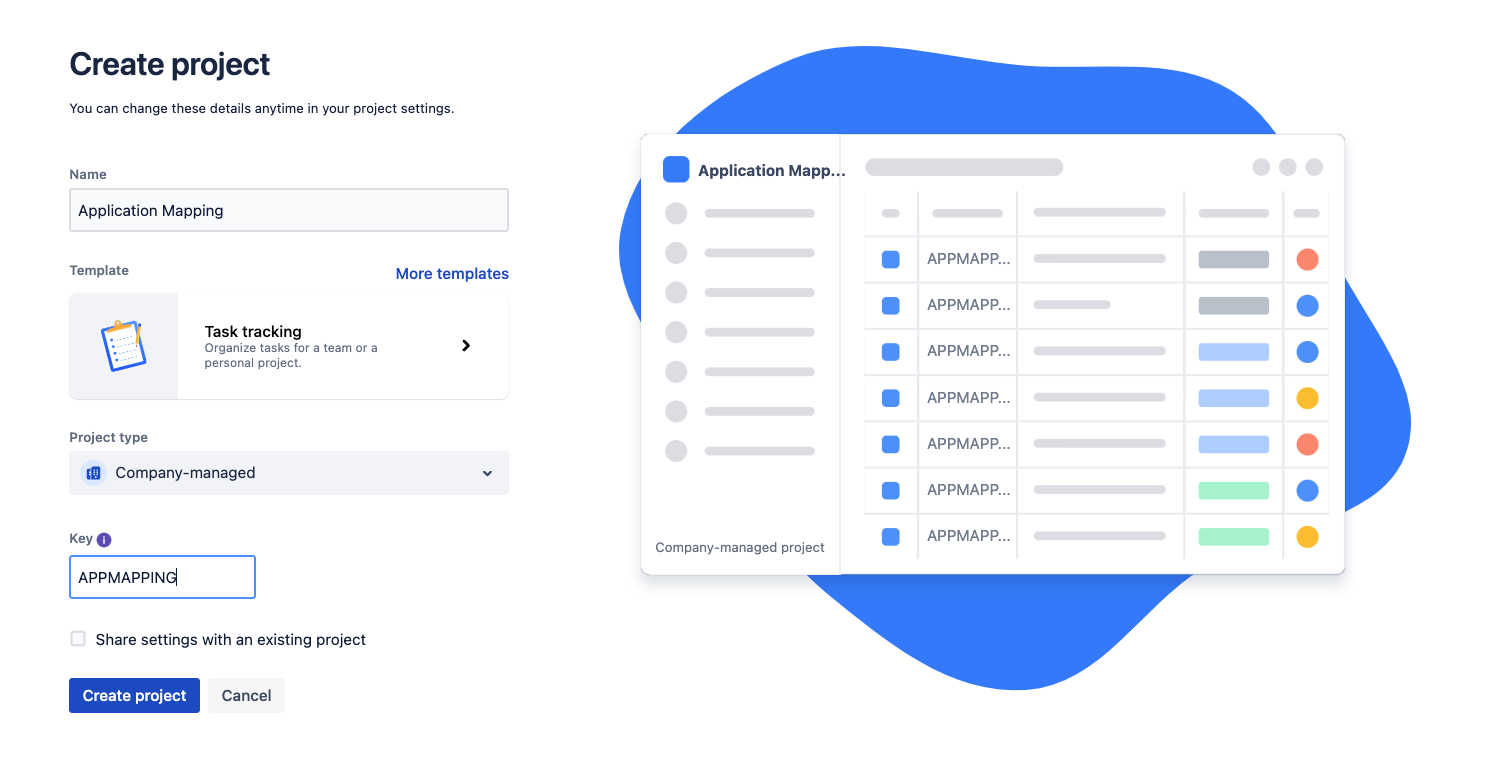
Fill in the details for the mapping project
-
Name: Application Mapping
-
Project type: Company-managed
-
Key: APPMAPPING
-
-
Click on the Create project button
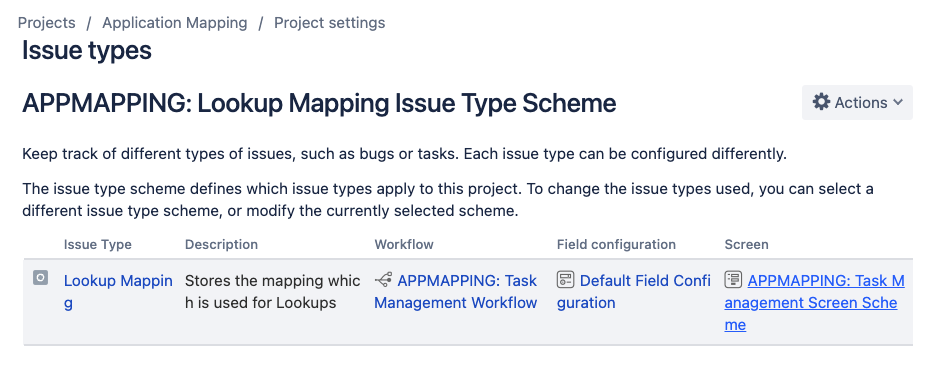
3. Modifying the issue types
-
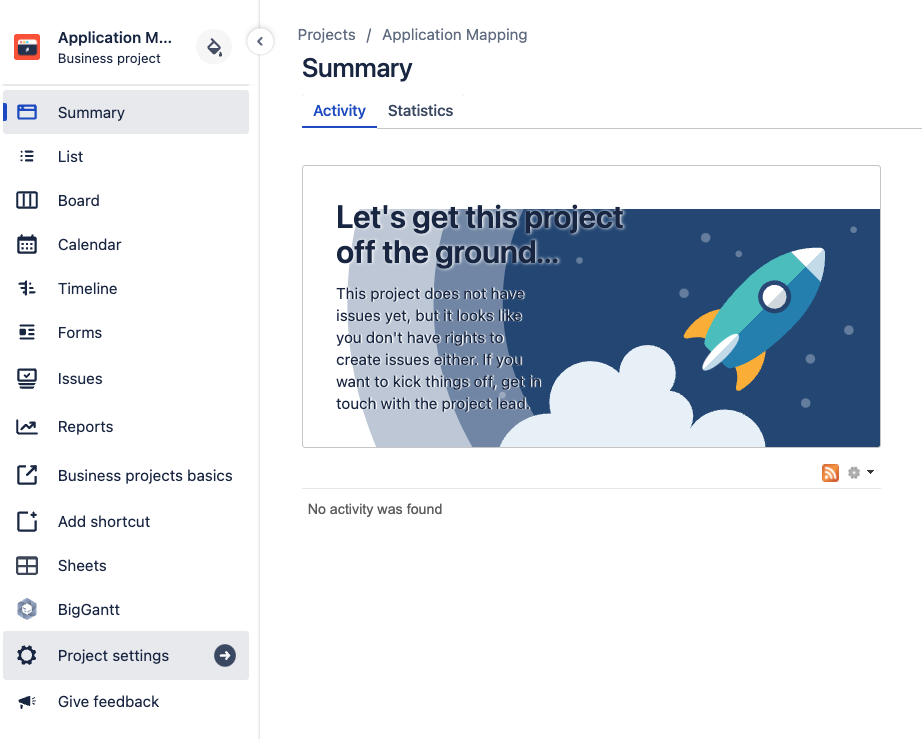
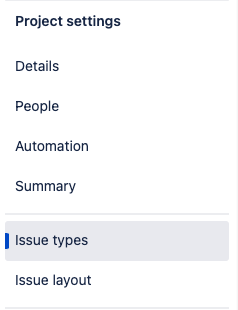
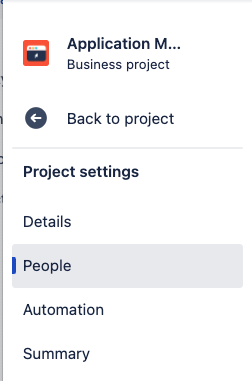
Click on the Project settings on the left sidebar of the newly created project
-
Select Issue types from the left sidebar
-
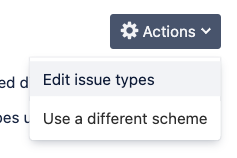
Click on the Actions dropdown menu and select Edit issue types
-
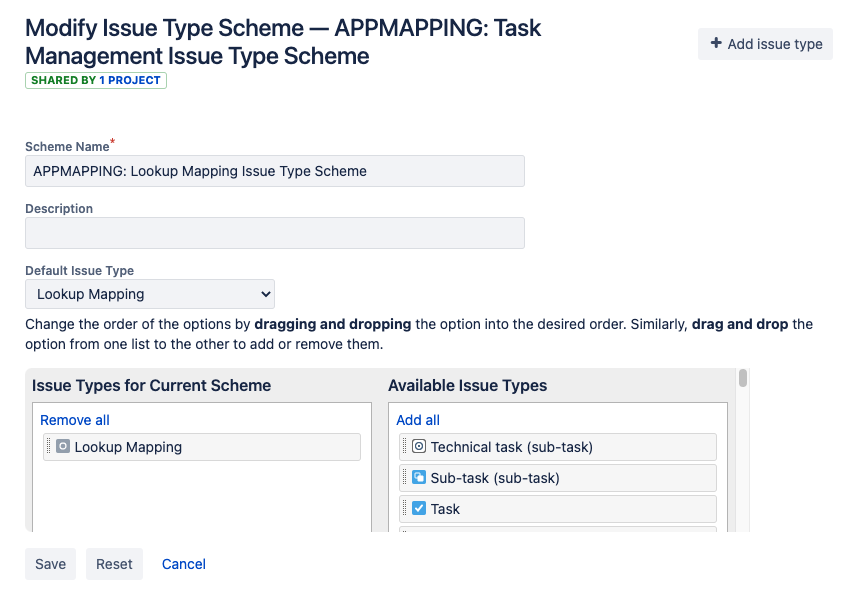
Rename the Scheme Name to APPMAPPING: Lookup Mapping Issue Type Scheme
-
Remove the Task and Subtask issue types and add in the Lookup Mapping issue type by dragging the issue types across the 2 columns
-
Change the Default Issue Type to Lookup Mapping
-
Click on the Save button at the bottom to save the change
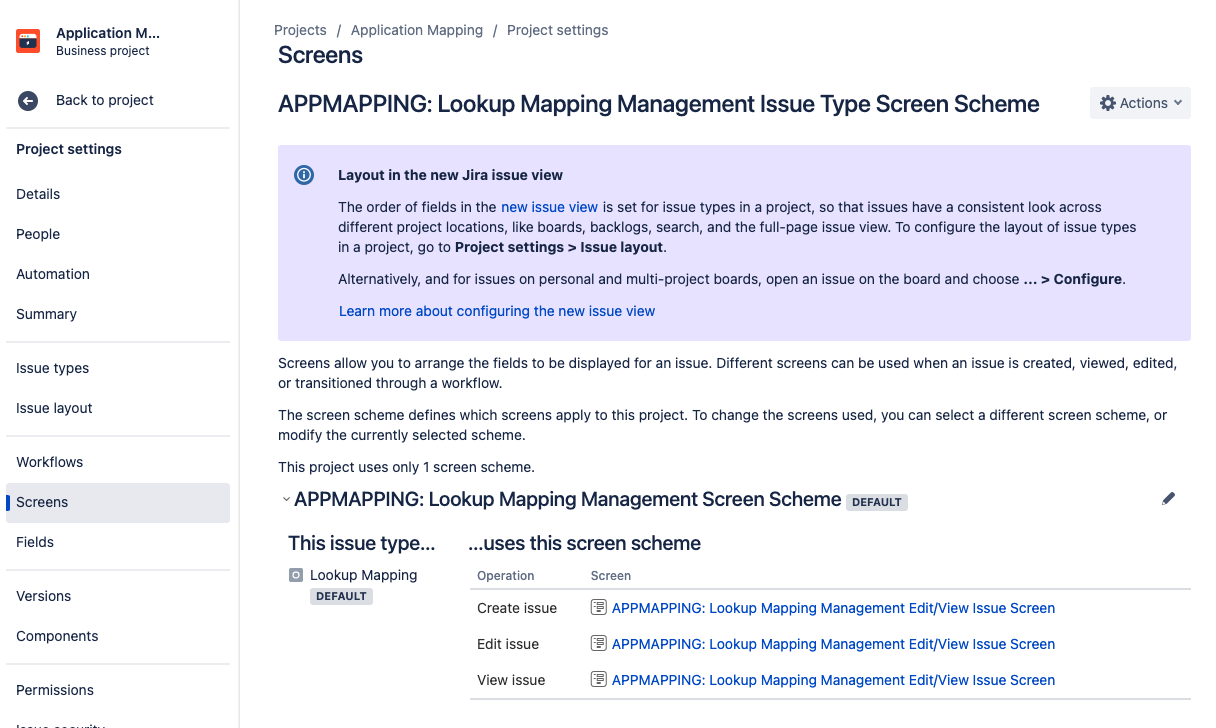
4. Updating the screens
We need to add the fields into the project by updating the Screens
-
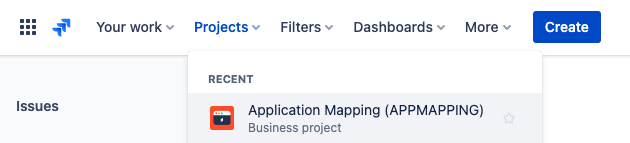
Go back to the Application Mapping project from the Projects menu
-
Click on the Project settings on the left sidebar
-
Select the Issue types from the left sidebar
-
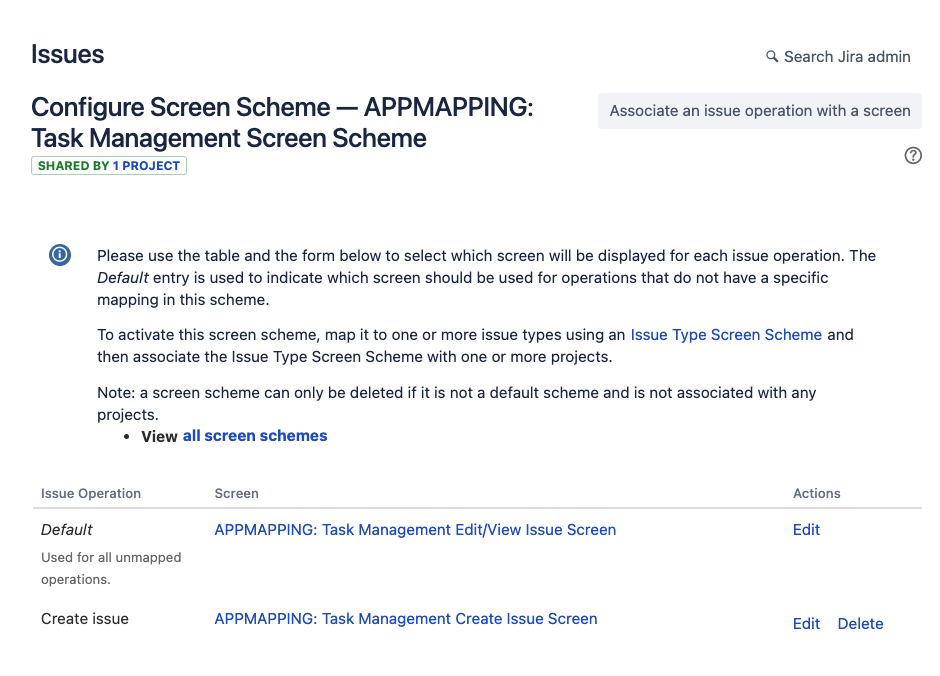
Click on the Screen scheme on the rightmost column (e.g. APPMAPPING: Task Management Screen Scheme)
-
It will display the screens associated with various issue operations
-
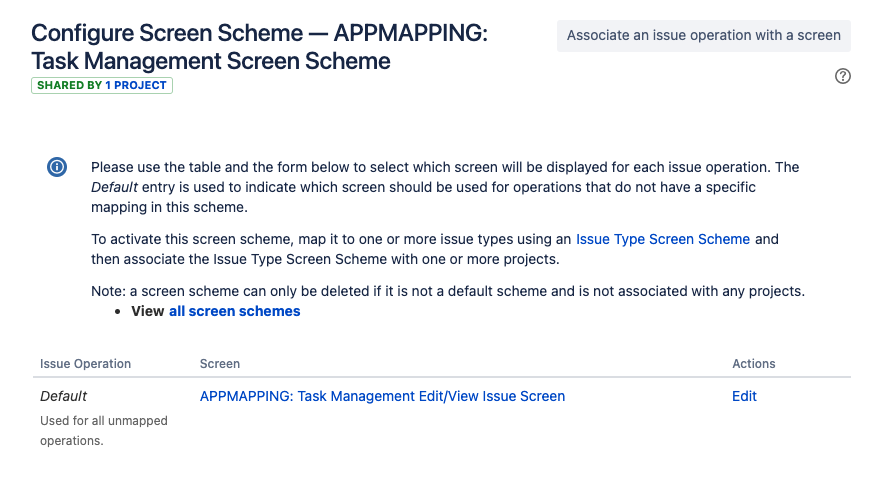
For simplicity, we will use 1 screen for all operations. So you can click the Delete link for the APPMAPPING: Task Management Create Issue Screen. If you want to hide certain fields in the Create issue screen, you can retain this and configure the fields.
-
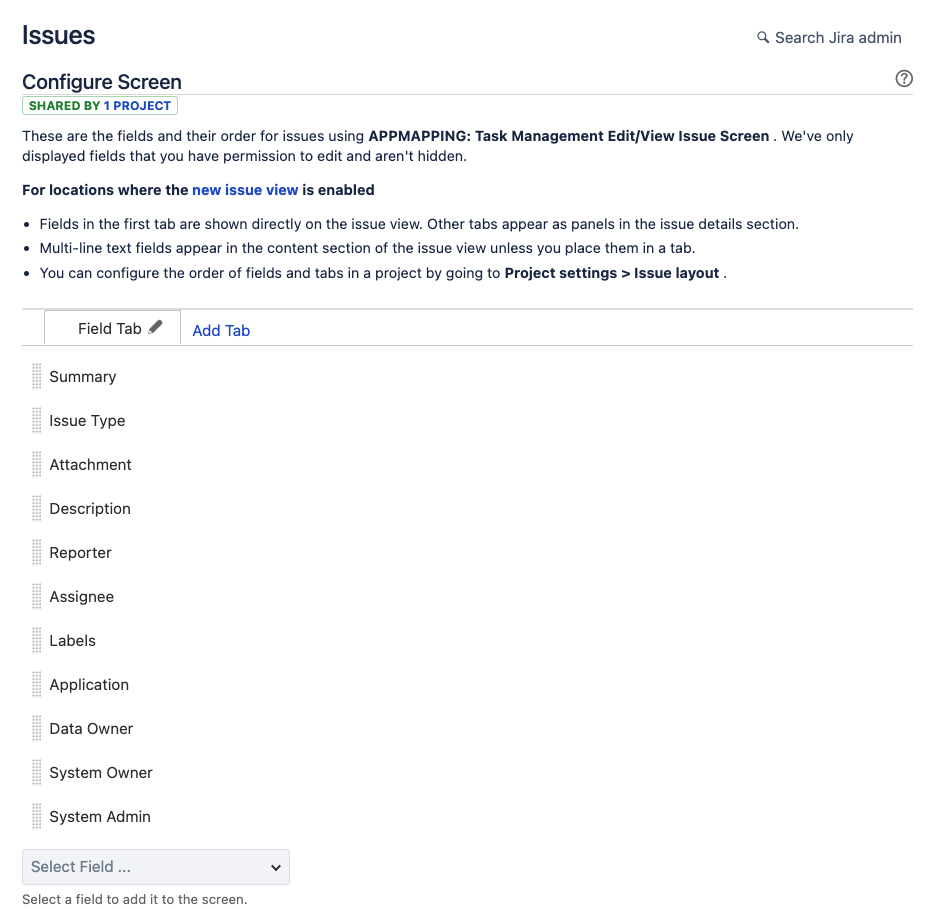
Click on APPMAPPING: Task Management Edit/View Issue Screen to configure the fields to display in that screen
-
Update the fields to include those fields used for the lookup and remove those unwanted fields
For good Jira admin practices, you can also rename the following items from Task to Lookup Mapping to facilitate future administration
-
Screens
-
Screen Scheme
-
Issue Type Screen Schemes
5. Granting access by updating the project roles
We need to update the project so that it is possible to add issues into this project
-
Go to Project Settings > People
-
Click on Add people button on the top right

-
Add jira-software-users to the Users role and click on the Add button
For this case, jira-software-users is the group of licensed users.
Actually there is no need to grant access to all users. The Lookup Manager app has BROWSE access for this Jira project to perform the lookup. So you only need to grant access to those who need to browse/update this project.
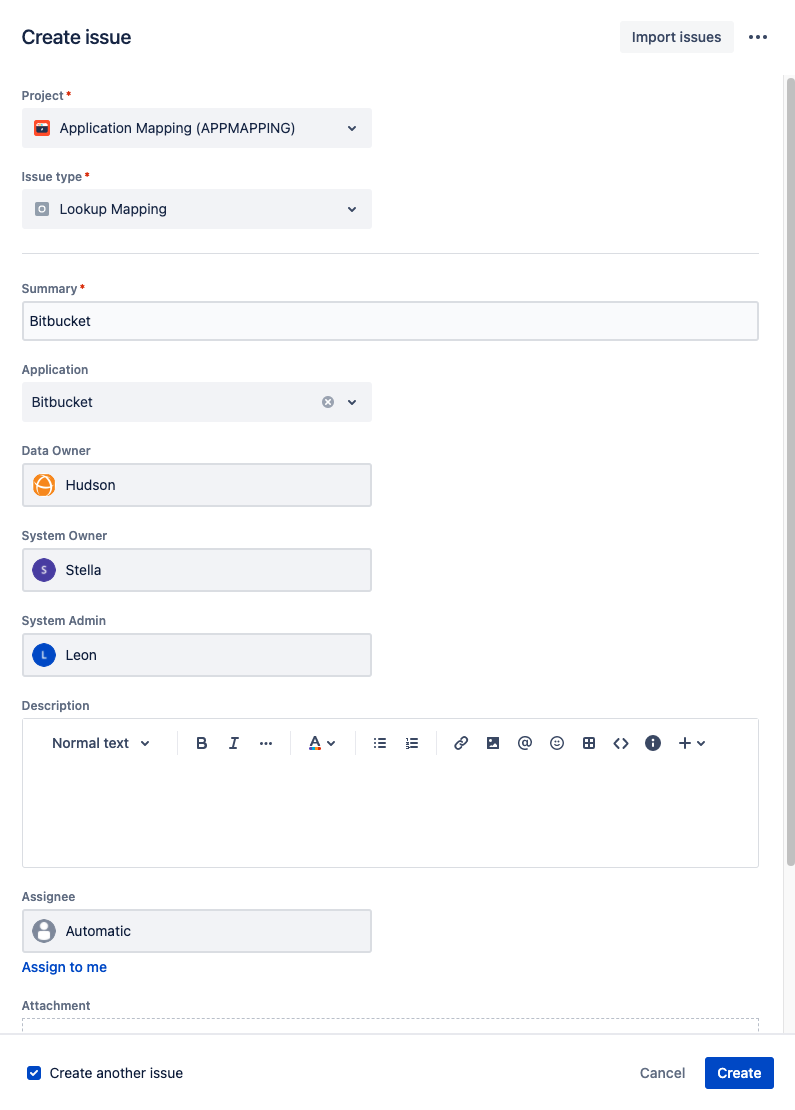
6. Populating the entries as issue
You can create the 3 issues
|
Summary |
Application |
Data Owner |
System Owner |
System Admin |
|---|---|---|---|---|
|
Bitbucket |
Bitbucket |
Hudson |
Stella |
Leon |
|
Confluence |
Confluence |
Simon |
Ian |
Leon |
|
Jira |
Jira |
Hudson |
John |
Leon |
-
Click on the Create button at the top menu bar

-
Fill in the fields as per the table above
-
Click on the Create button to save
-
Repeat until all the rows of the table above are populated
7. Creating a search filter to facilitate reference (Bonus)
You can create a search filter and add it as a project shortcut so that all the users can view the mappings in a tabular view conveniently
-
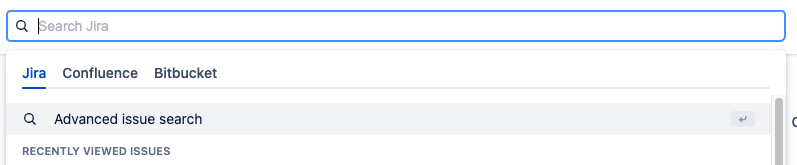
Click in the search bar at the top menu bar
-
Select Advanced issue search
-
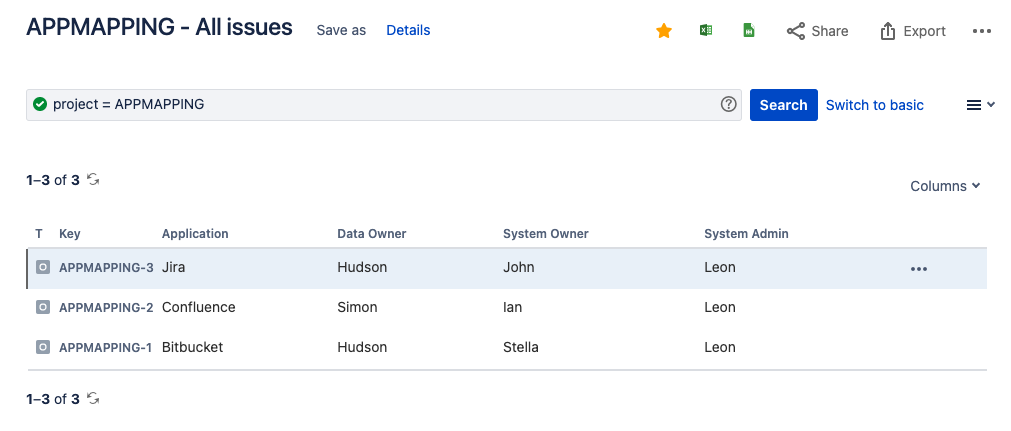
Enter the JQL below and click on the Search button to find all issues in the APPMAPPING project
project = APPMAPPING
-
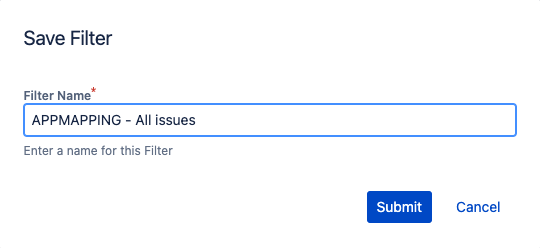
Click on the Save as link to save this search as a filter
-
Enter APPMAPPING - All issues as the Filter Name and click on the Submit button
-
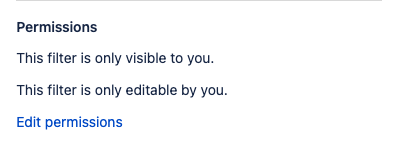
Click on the Details link to update the permissions to grant all project users access

-
Click on Edit permissions
-
Add all roles for Application Mapping project to have view access
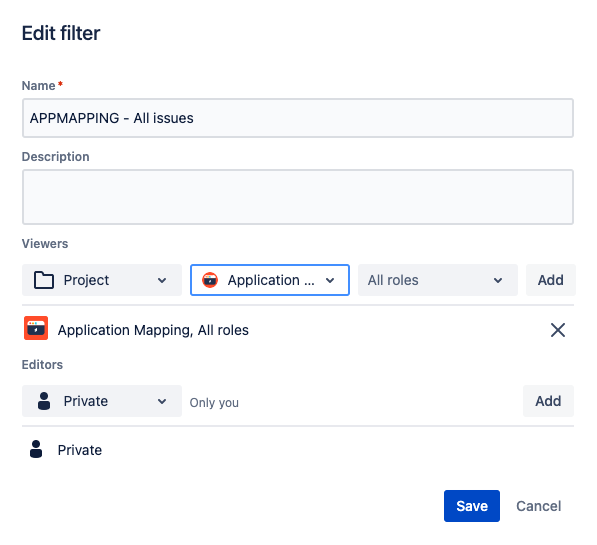
-
Click on Save button
-
Click on Columns and select Filter tab in the popup
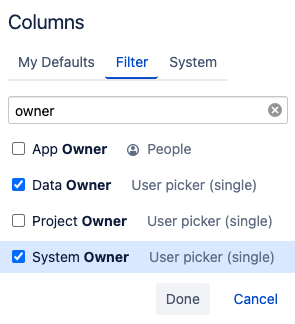
-
Configure the fields to be displayed in the filter to something like this
-
Once it is done, you can copy the URL of the page
(e.g. https://<yoursite>.atlassian.net/issues/?filter=<some numbers> -
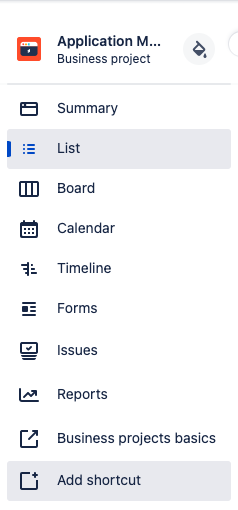
Go back to the Application Mapping project from the Projects menu
-
Select Add shortcut from the left sidebar
-
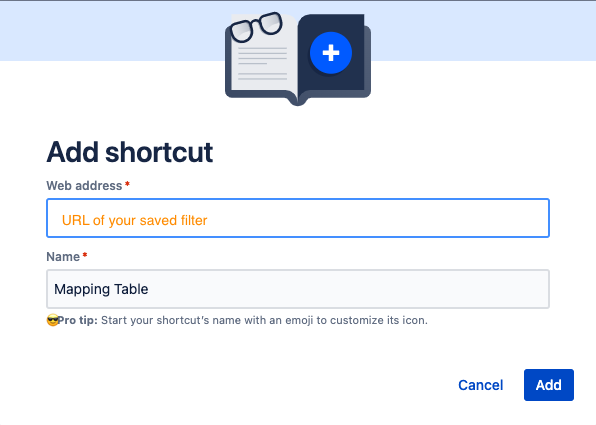
Fill in the details and click on the Add button
-
Web address: Paste the URL from step 12
-
Name: Mapping Table
-
-
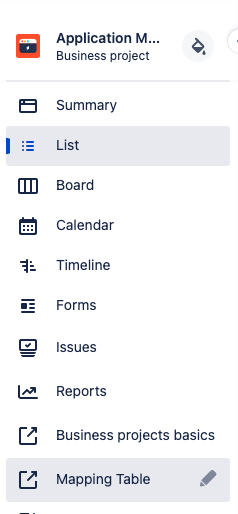
Now all the project users can click on the Mapping Table link on the left sidebar to access the tabular view
Next
Now you are ready to proceed to the next section: Section 3 - Setup for the SD project