Introduction
Most of the time, the reassignment rules are usually the same.
To make it easier, user only need to specify the period which you are out of office. There is no need to refill in all the settings.
When the period matches, Out of Office Assistant will use the recurring rules to determine how the work item is handled during your absence.
-
Out of Office Period determines if you are Out of Office
-
Recurring Rule decides how to handle the work item or who to reassign
Out of Office Period
Adding a new Out of Office Period
-
You can access the Out of Office Assistant page from the left sidebar.
-
Your apps > Out Of Office for Jira Cloud
-
-
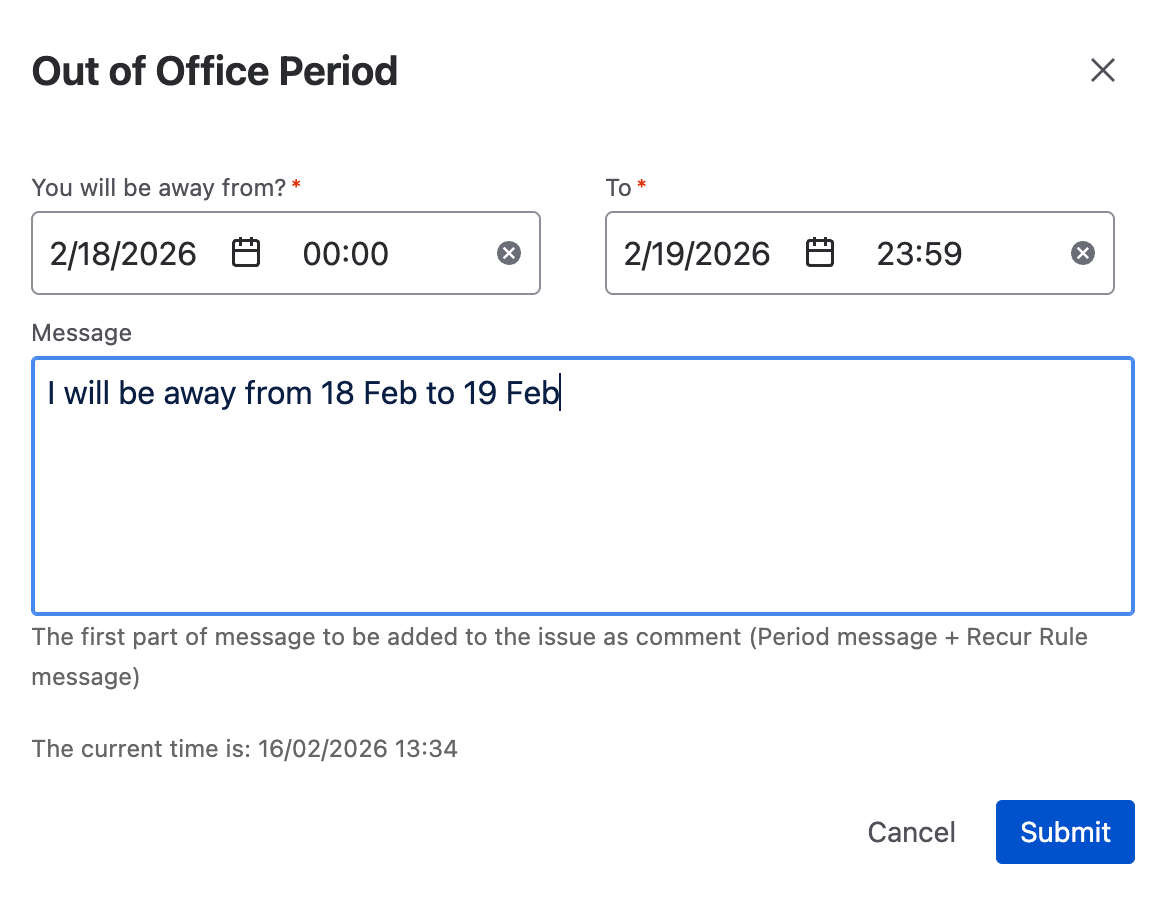
Click on Add Out of Office period

-
Fill in the fields accordingly
|
Field Name |
Description |
|---|---|
|
You will be away from? |
The start and end date when the person is going to be out of office. If the time is not changed, the duration where the rule is going to be applied is from Start Date 0000hrs to End Date 2359hrs.
|
|
Message |
Out of Office Assistant will combine the messages in the Out of Office Period and Recurring Rule to post the OOO comment. This is the first part of out of office message to be added as comment. You can add message which may change for different OOO. For example,
You can add those static messages in the 2nd part under the Recurring Rule. If you do not wish for any comments to be added, you can also leave the message blank |
-
Click on Submit to save the entry
Editing existing Out of Office Period
-
Under Out of Office Period, locate the period you want to edit, and click on the pencil icon under Actions column
-
Make your changes

-
Click on Submit
Deleting existing Out of Office Period
-
Under Out of Office Period, locate the period you want to delete, and click on the trash icon under Actions column

-
Click Delete button
Recurring Rule
Adding a new Recurring Rule
-
You can access the Out of Office Assistant page from the left sidebar.
-
Your apps > Out Of Office for Jira Cloud
-
-
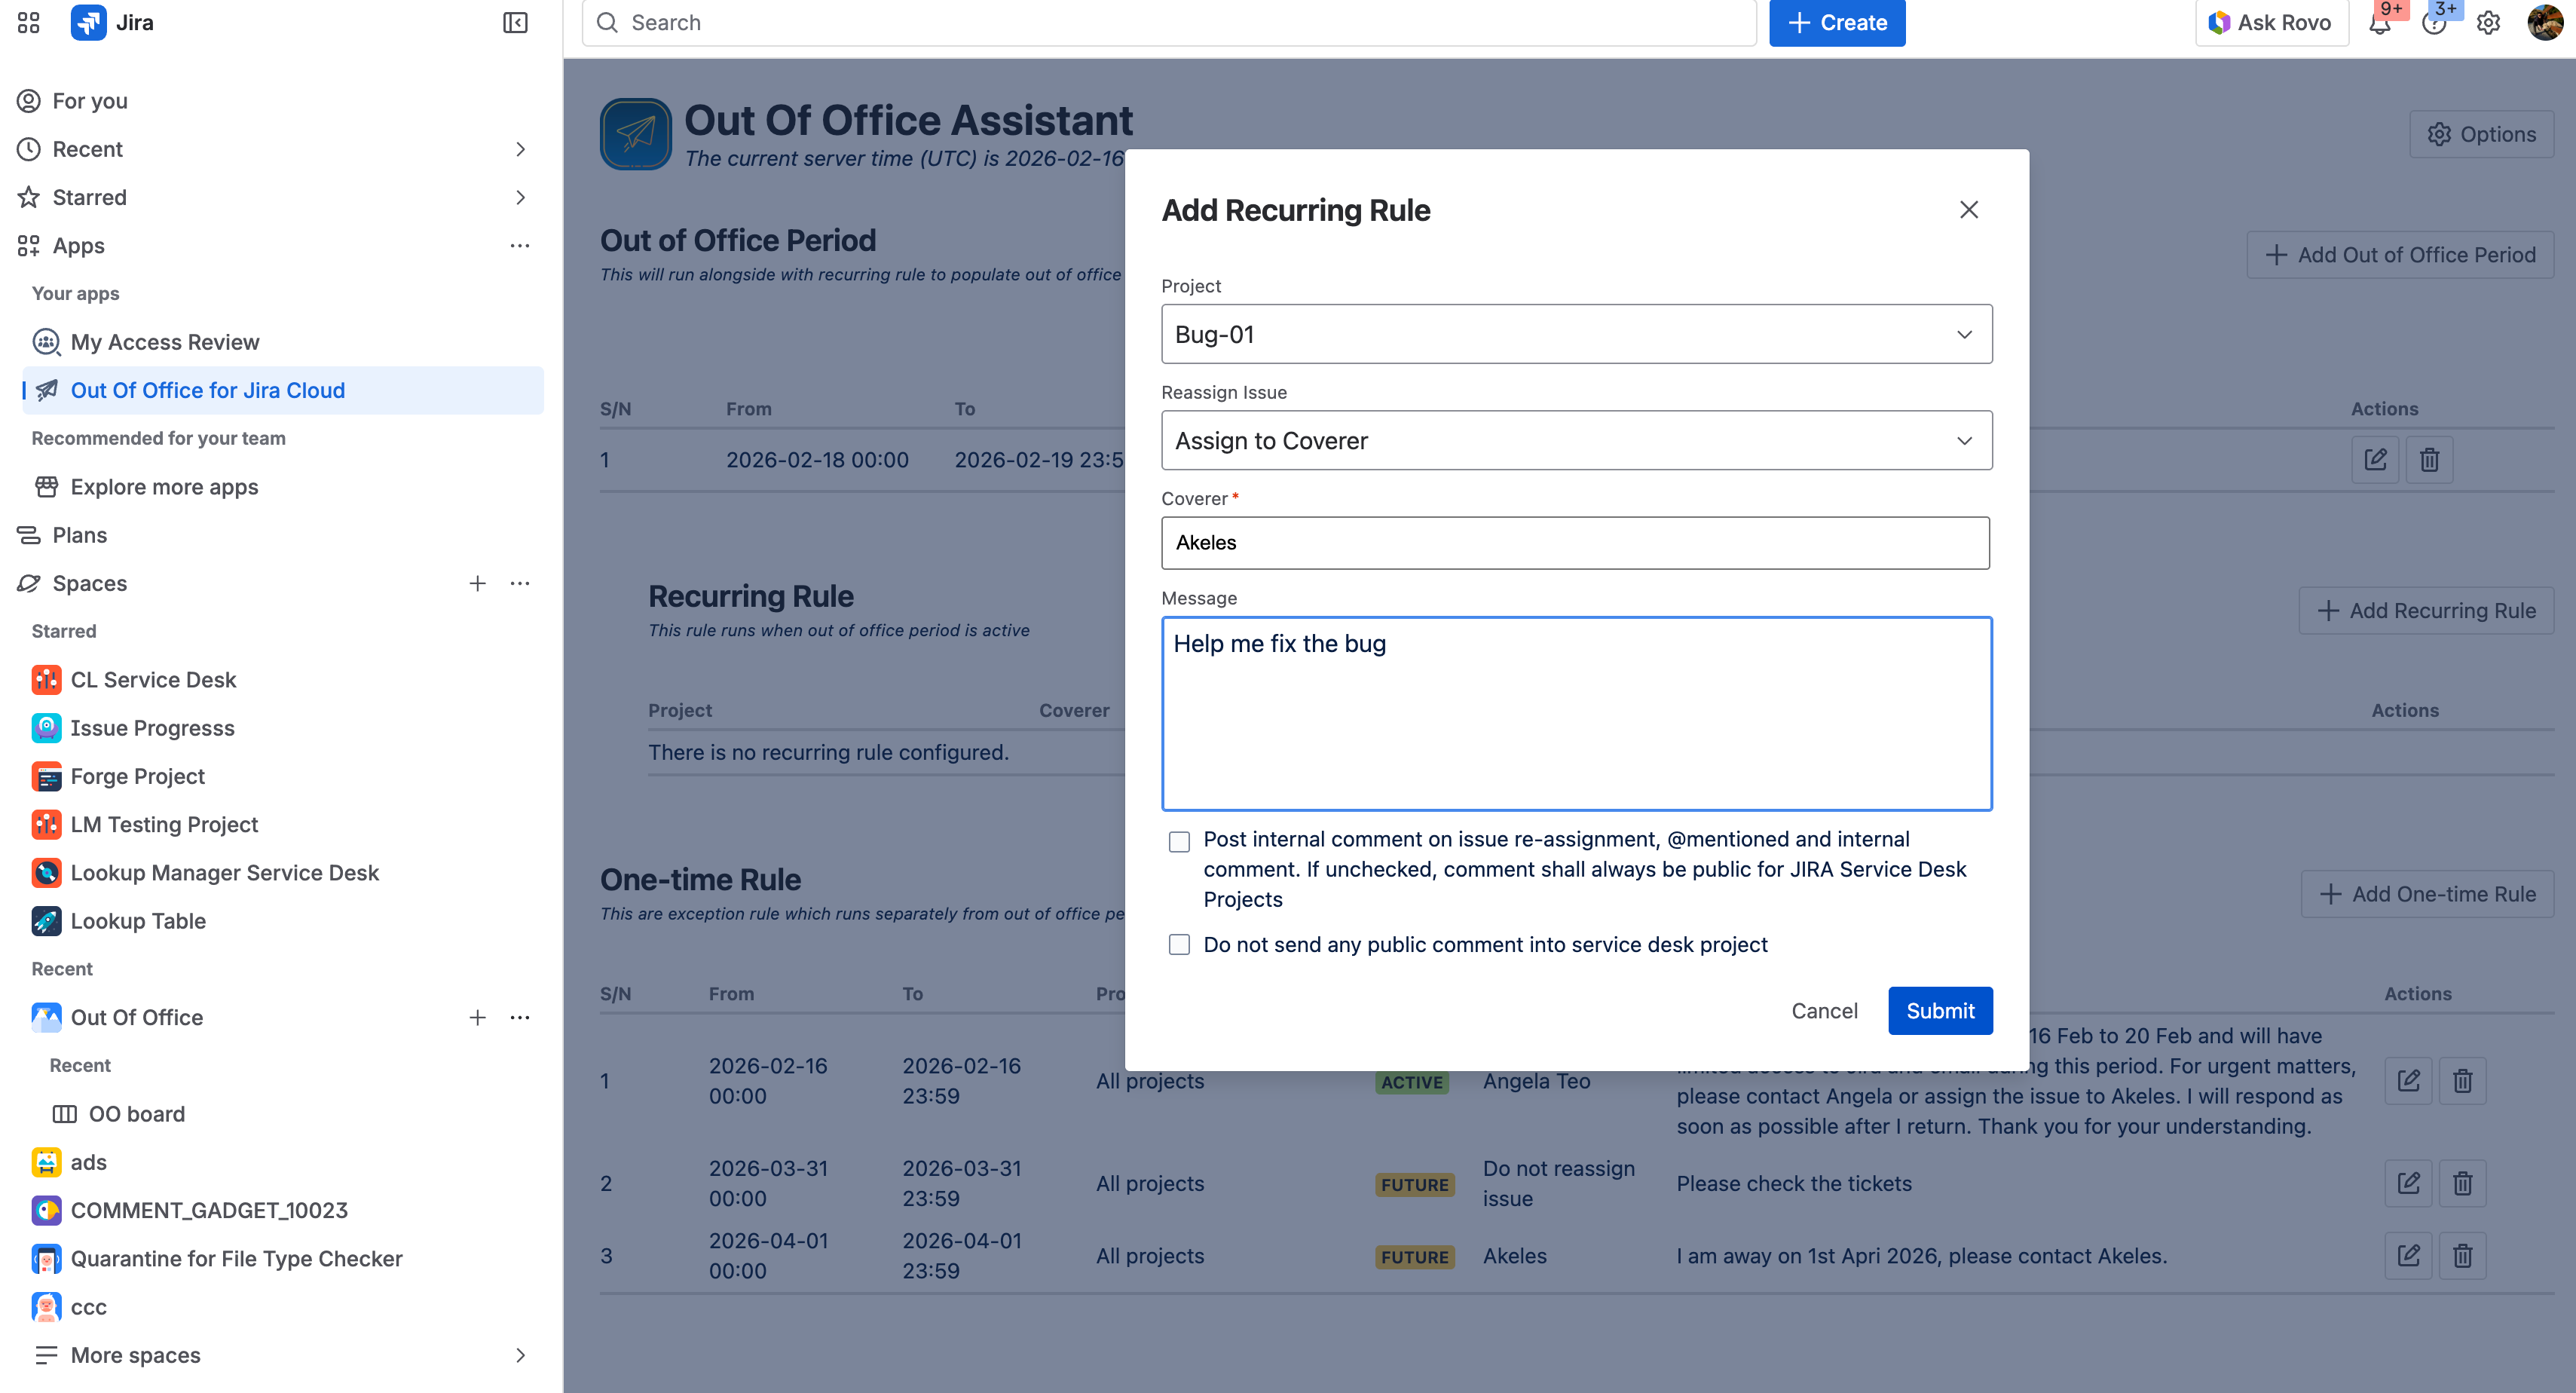
Click on Add Recurring Rule

-
Fill in the fields accordingly
|
Field Name |
Description |
|---|---|
|
Project |
The project which this out of office rule is to be applied to.
|
|
Reassign Issue |
Choose an option:
|
|
Coverer
|
The user for the matching issue to be reassigned to. |
|
Message |
This is the second part of out of office message to be added as comment. You can add message which remains the same for different OOO periods. For example,
If you do not wish for any comments to be added, you can also leave the message blank |
|
Post internal comment on issue re-assignment, @mentioned and internal comment. If unchecked, comment shall always be public for Jira Service Desk Projects |
Check this option to add out of office messages as an internal comment in Jira Service Desk Projects.
It is possible to have OOO message as public comment when a fellow teammate @mention you and forget to set it as an internal comment. |
|
Do not send any public comment into service desk project |
Your automatic replies to public comments will be published as internal comments. Select this option to ensure your OOO messages to always be internal comments so that external customers cannot see them. |
-
Click on Submit
Editing existing Recurring Rule
-
Under Recurring rule, locate the Recurring Rule you want to edit, and click on the pencil icon under Actions column
-
Make your changes

-
Click on Submit
Deleting existing Recurring Rule
-
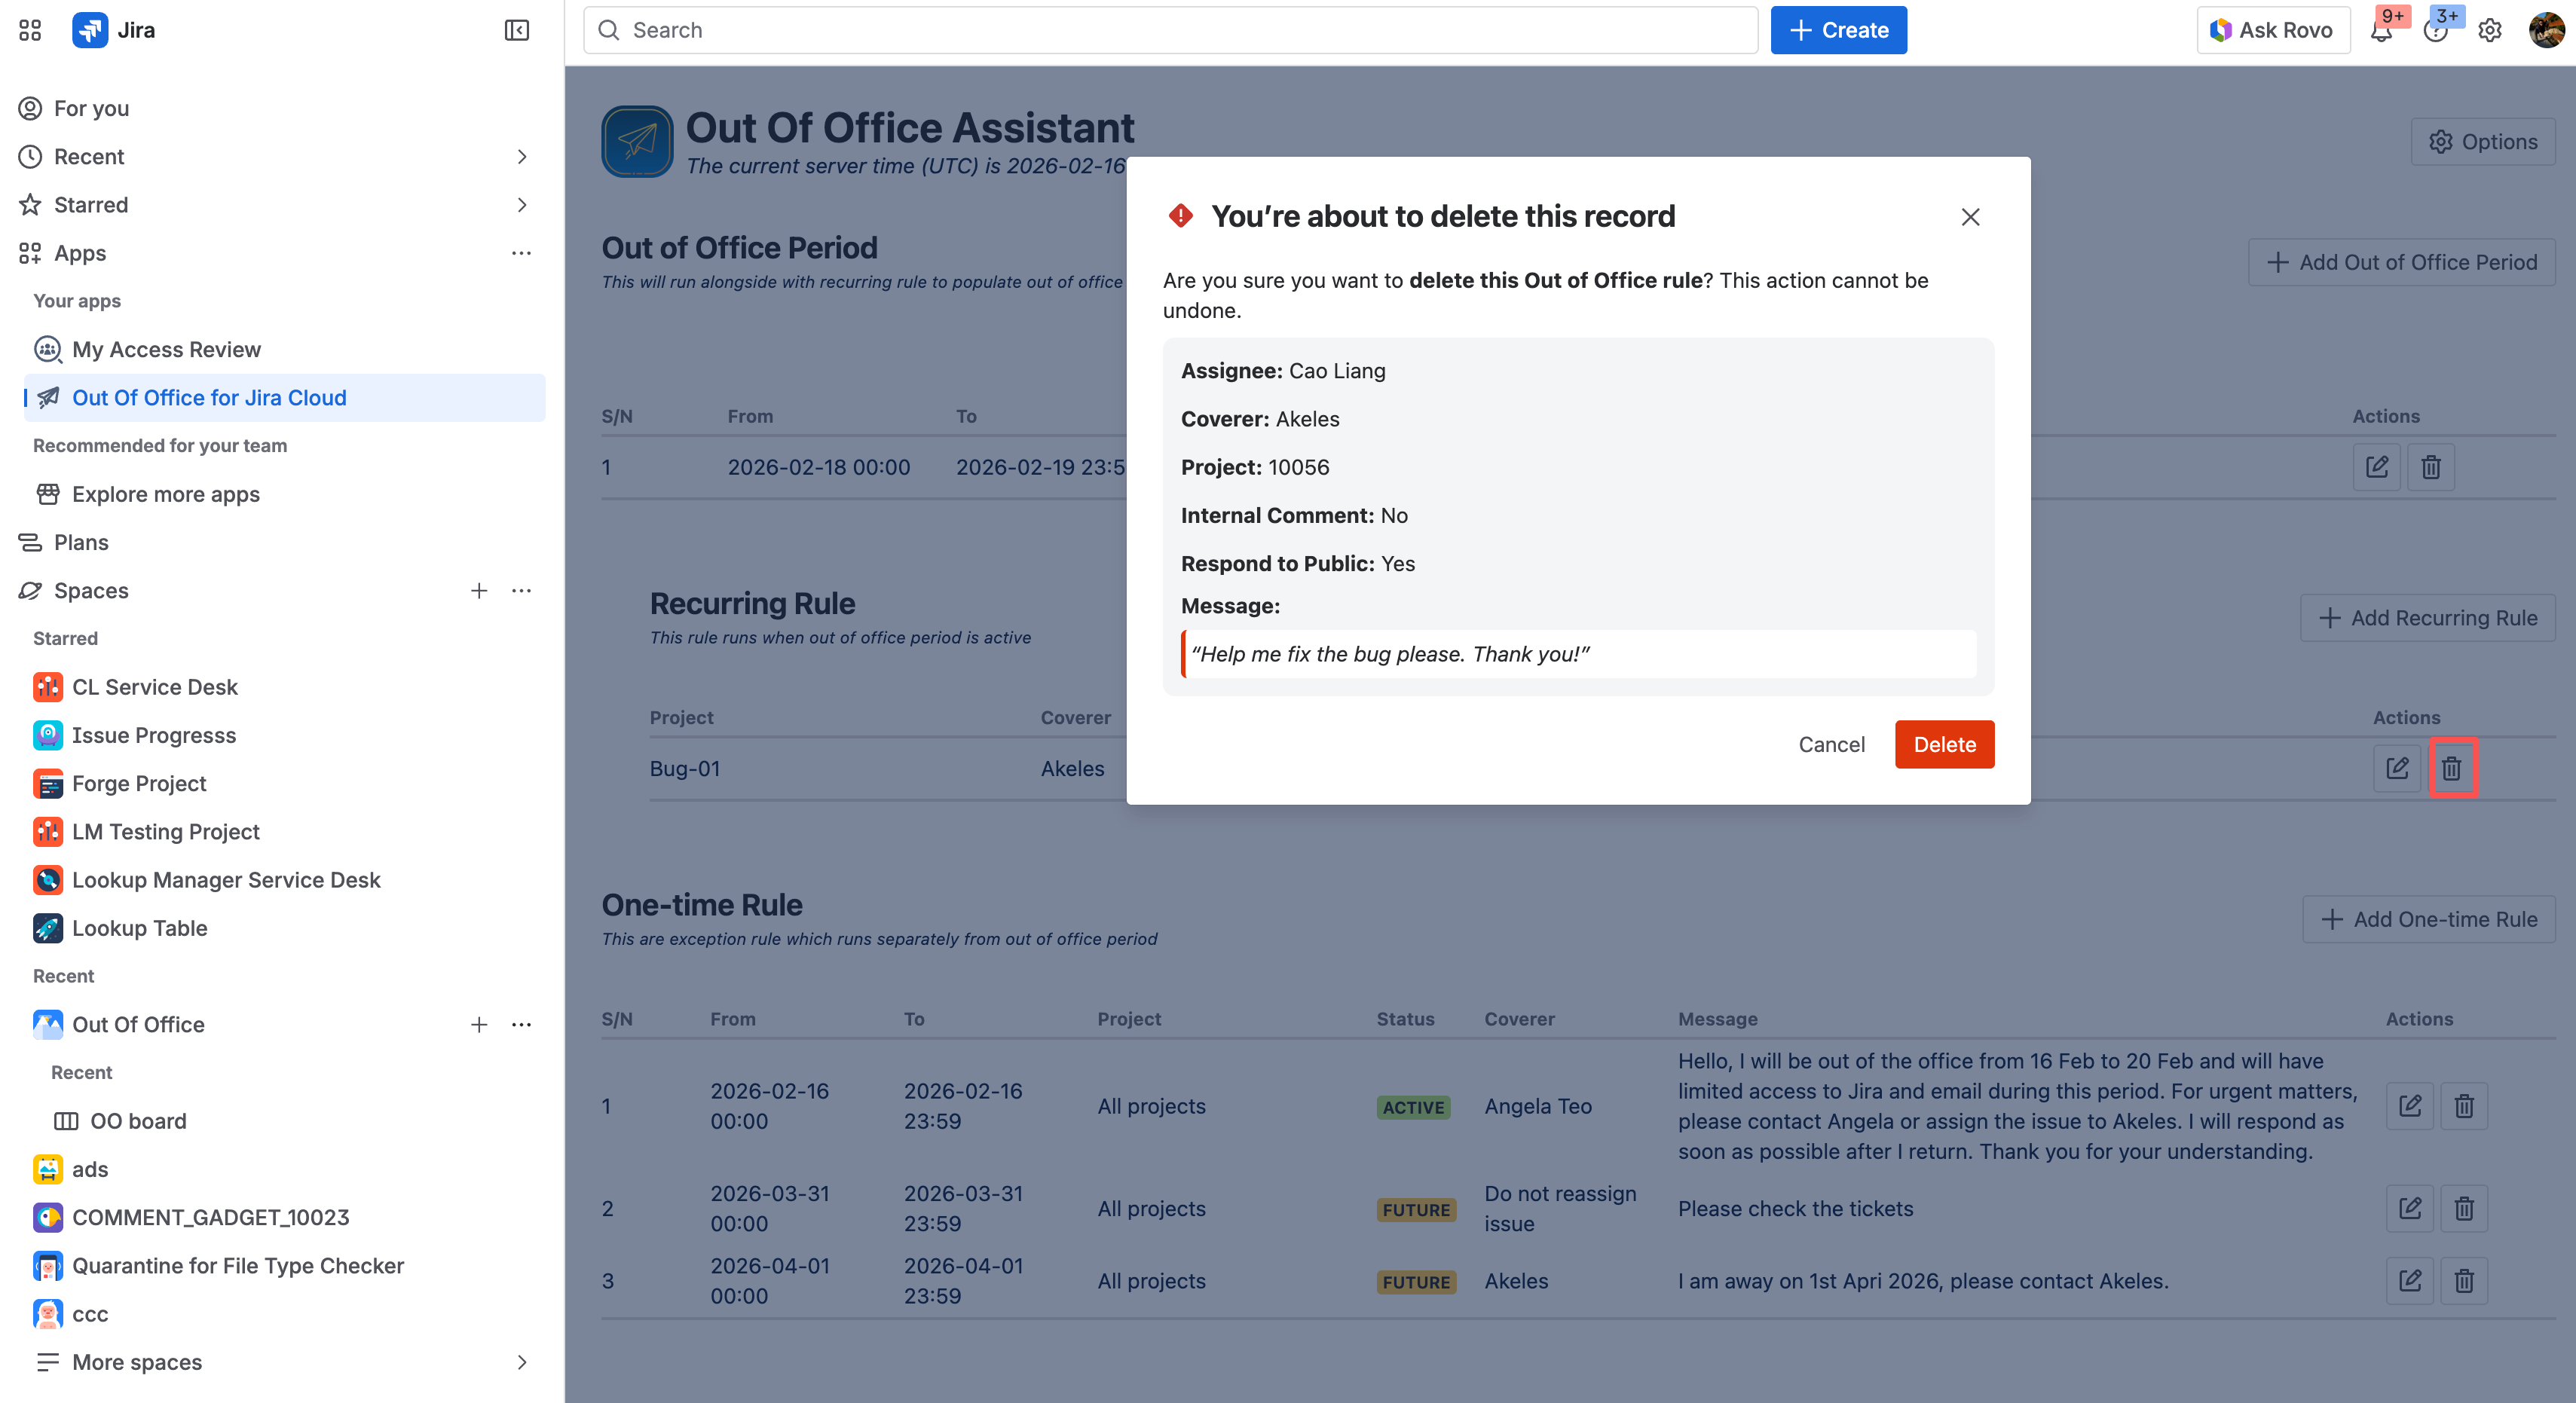
Under Recurring rule, locate the Recurring Rule you want to delete, and click on the trash icon under Actions column
-
Click Delete button