There are 2 ways of installing depending whether your Jira server has a direct connection to the Internet
With Internet Connection
-
Log in as a Jira administrator
-
Click on Administration link
-
Under the Plugins section, click on Find New Add-ons
-
Enter Gauge Gadget in the texbox labelled with Search the Marketplace
-
Click on the Install button to install the plugin
-
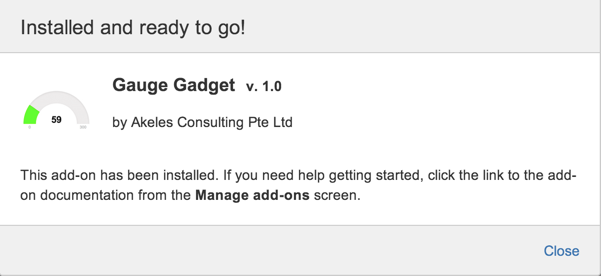
Wait for the installation process to complete and click on the Close button
-
Click on the Manage button to proceed with the configuration
Without Internet Connection
-
Download the latest version of the plugin from the Atlassian Marketplace
-
Log in as a Jira administrator
-
Click on Administration link
-
Under the Plugins section, click on Manage Add-ons
-
Click on the Upload Add-on link
-
Click on Choose File button and select the latest version of the plugin from the Marketplace (e.g. GaugeGadget-1.0.jar)
-
Click on Upload button to upload the plugin
-
A confirmation dialog box will appear

Entering the License Key
A license key is required for the plugin to work.
This is only applicable for Jira on premises. If you are using Jira Cloud, the licensing is done automatically.
To get the license key:
-
Go to License Request at our Service Desk
-
Fill in the required information and click on the Submit button
-
The license key will be emailed to the given email address
To update the license key:
-
Go to the Universal Plugin Manager
-
Click on the Gauge Gadget under the User-installed Add-ons section to expand the panel

-
Click on the Configure button to go to Plugin Admin page

-
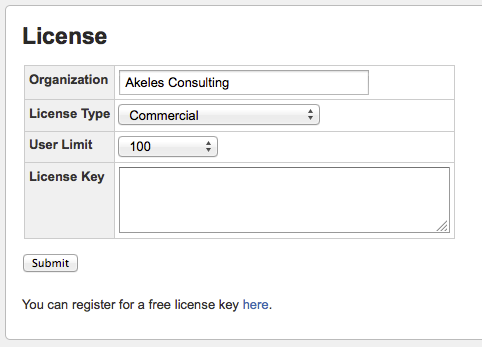
Fill in the details and paste the license key in the License key Text Box
-
Click on the Update button to save
.png)