-
Login into your Jira with an Administrator account.
-
You can navigate to the configuration by 3 ways;
-
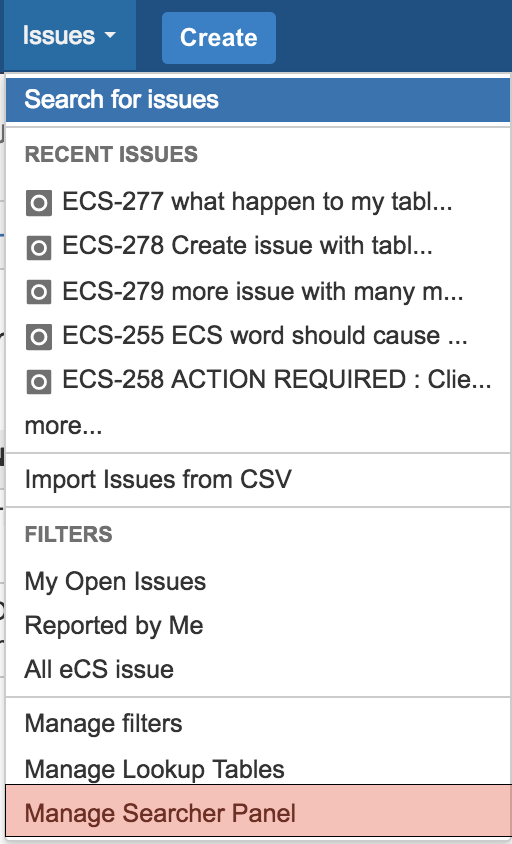
Go to System > Issue > Smart Issue Searcher > Configure Searcher Panel
-
Go to Issue > Manage Searcher Panel
-
Go to System > Add On > Smart Issue Searcher > Configure

-
-
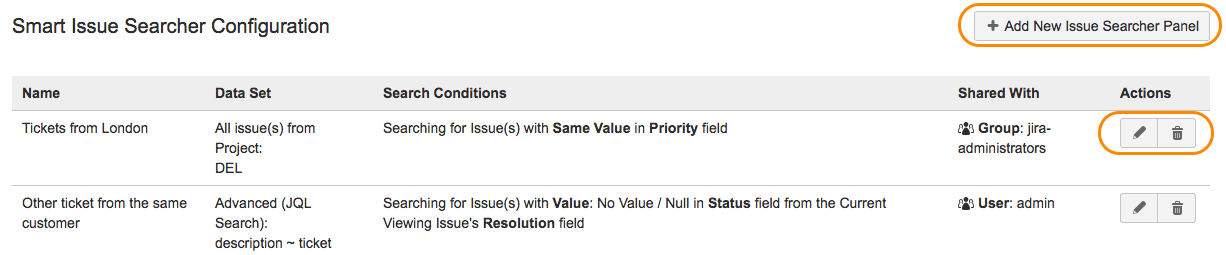
You will be directed to a Configuration Page which will list the configured panel in your Jira.
-
Click on to the 'Add New Issue Searcher Panel' to start adding your searcher panel. Alternatively, you can also manage your existing panel by editing or deleting the panel by click on the button beside the panel.
-
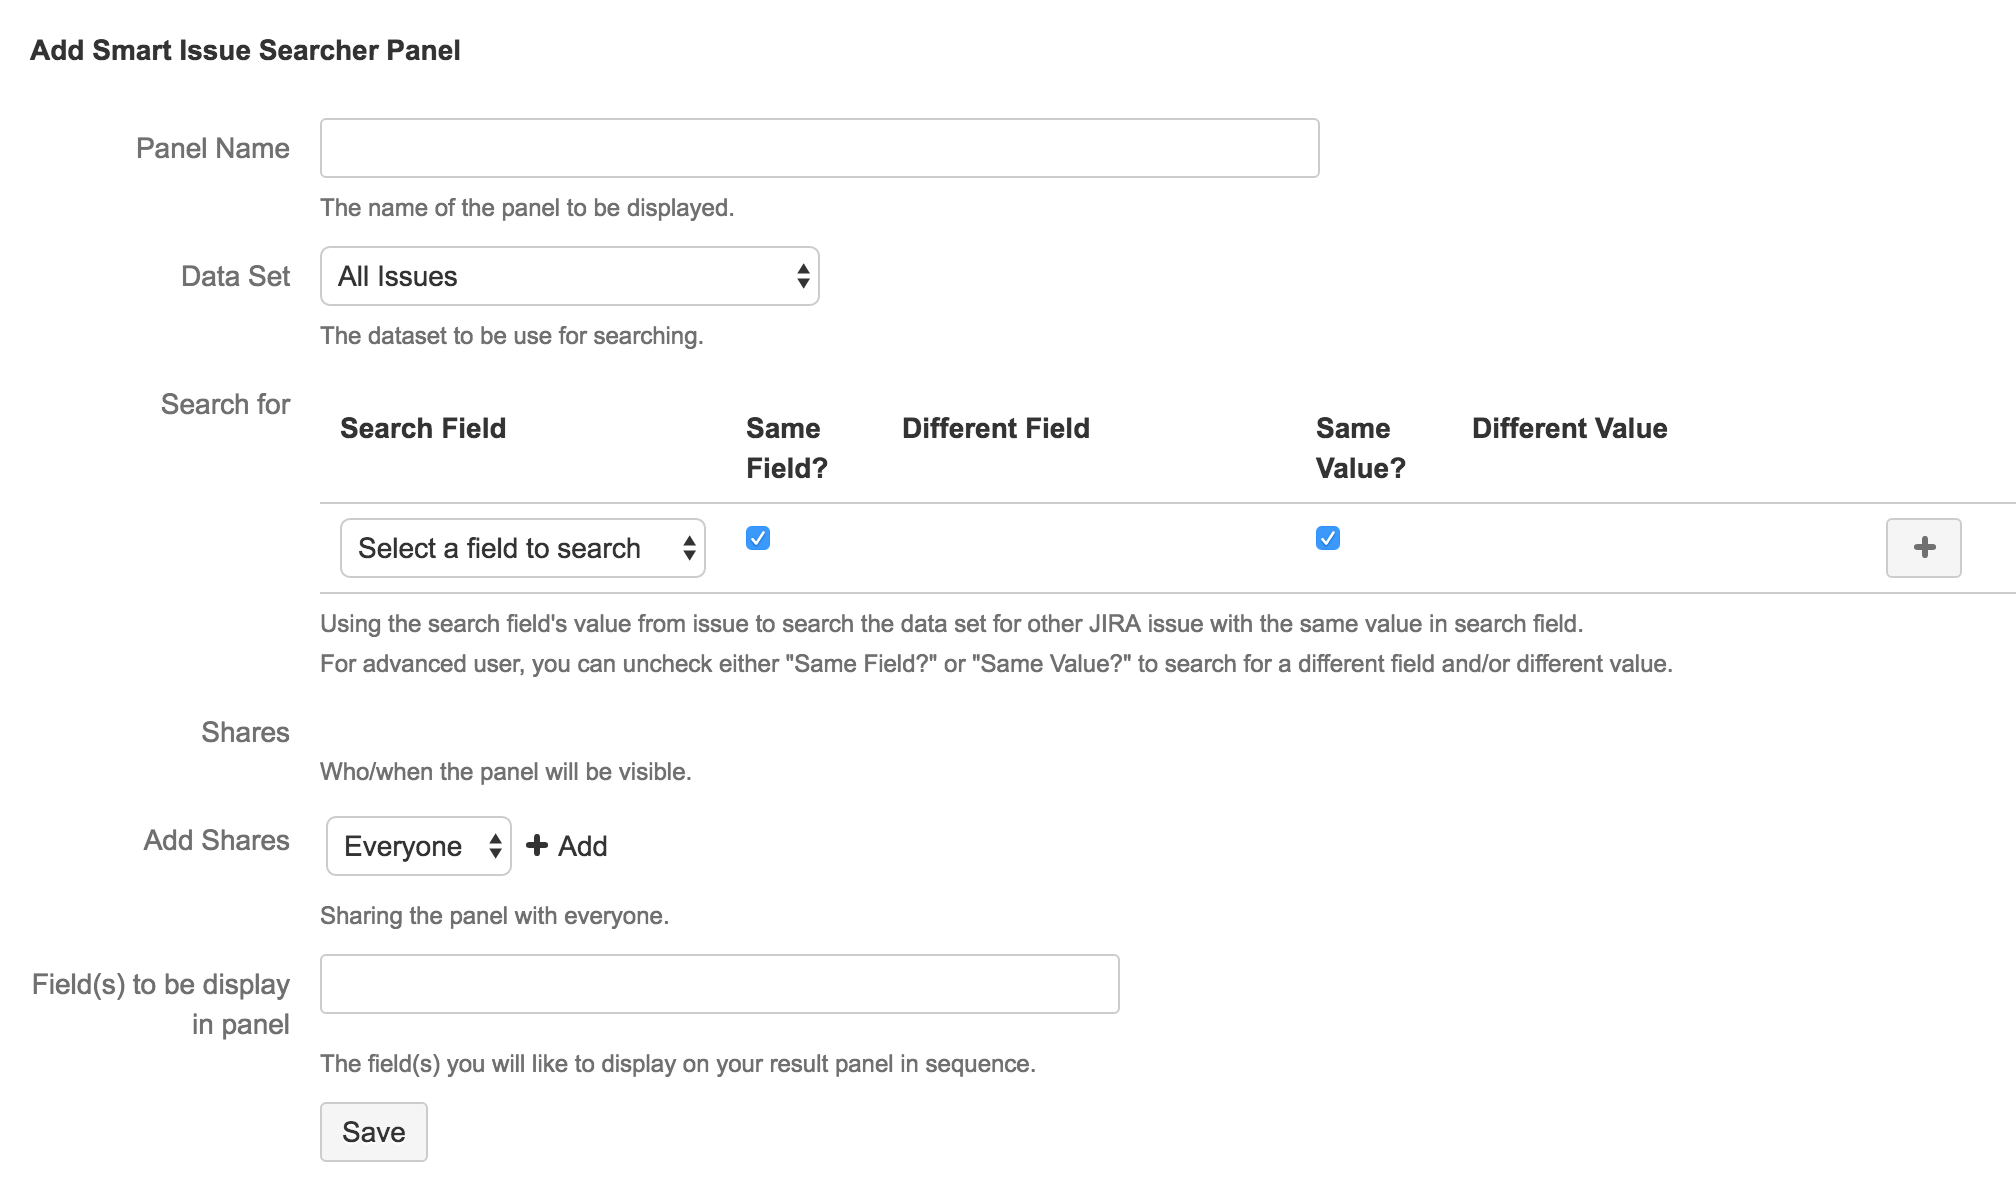
In the Smart Issue Searcher Panel set-up page, you will be asked to filling up the following information.
Option
Mandatory
Description
Panel Name
The name for your Smart Issue Searcher Panel. The given name must be unique and should not be the same to any existing panel
Data Set
Defining the scope of your search, you can decide to search within project or by Issue type. For advance user, they can also use JQL to determine the baseline dataset use for search.
Options: All Issue(s) in Jira
Within Project
All Issue with a certain Issue Type
Advance Mode: Using JQL Default: All Issue(s) in JiraSearch for
Under this Option, there are 5 field to be filled up.
Option
Description
Search Field
The field to be used to search in the dataset.
By default, the "Same Field?" and "Same Value?" option will be checked and you will only have to select a field to search. The searcher panel will proceed with searching using the field value of Search field in the dataset for any issue with the same value in the search field.Same Field?
Default: Checked For advanced user, you can uncheck this and choose to search under a different field.
By unchecking this field, you will enable the Different Field options and you can search using the value of Search Field to search for any issue with the same value under a Different FieldDifferent Field
The secondary field to be used for searching in the dataset.
By default, this field is disabled and the Search Field will be used.
Default: DisabledSame Value?
Default: Checked
For advanced user, you can uncheck this and choose to search under a different value.
By unchecking this field, you will enable the Different Value options and you can search using the value entered to search for any issue with the search value in the Search FieldDifferent Value
The search value to be used instead of using the value from the Search Field
Remember to click on the "Tick" button when you are done for each Search Condition
We have limit the search condition to 5. For more search condition, please raise an request in our plugin support page for assistance.
Refer to Supported Field Types for more details
Share
Allowing you to share the panel.
You will be able to share based on various options: 1. Share to Everyone 2. Share based on Project and Roles 3. Share based on Group 4. Share based on Issue Type 5. Share based on UsernameField to Display
Choosing the Field to be Display on the Panel.
Jira will pull the field you are interested with to populate in the Panel Screen.
-
Once you are done, click 'Save'.
-
Viola! You are now ready to go! You can check your issue and start working with Smart Issue Searcher Panel