Section 3 - Setup for the SD project
Objectives
In this section, we will create a Service Desk project using the template.
You can skip directly to Section 4 if you already have a Service Desk project that you want to apply the lookup post function.
Steps
1. Create a new project using a template
We chose the General service management as a template because it is the least complex. You can choose others that suit your needs.
We chose the General service management as a template and modify the schemes to speed up the process
From the top menu, select Projects > Create project

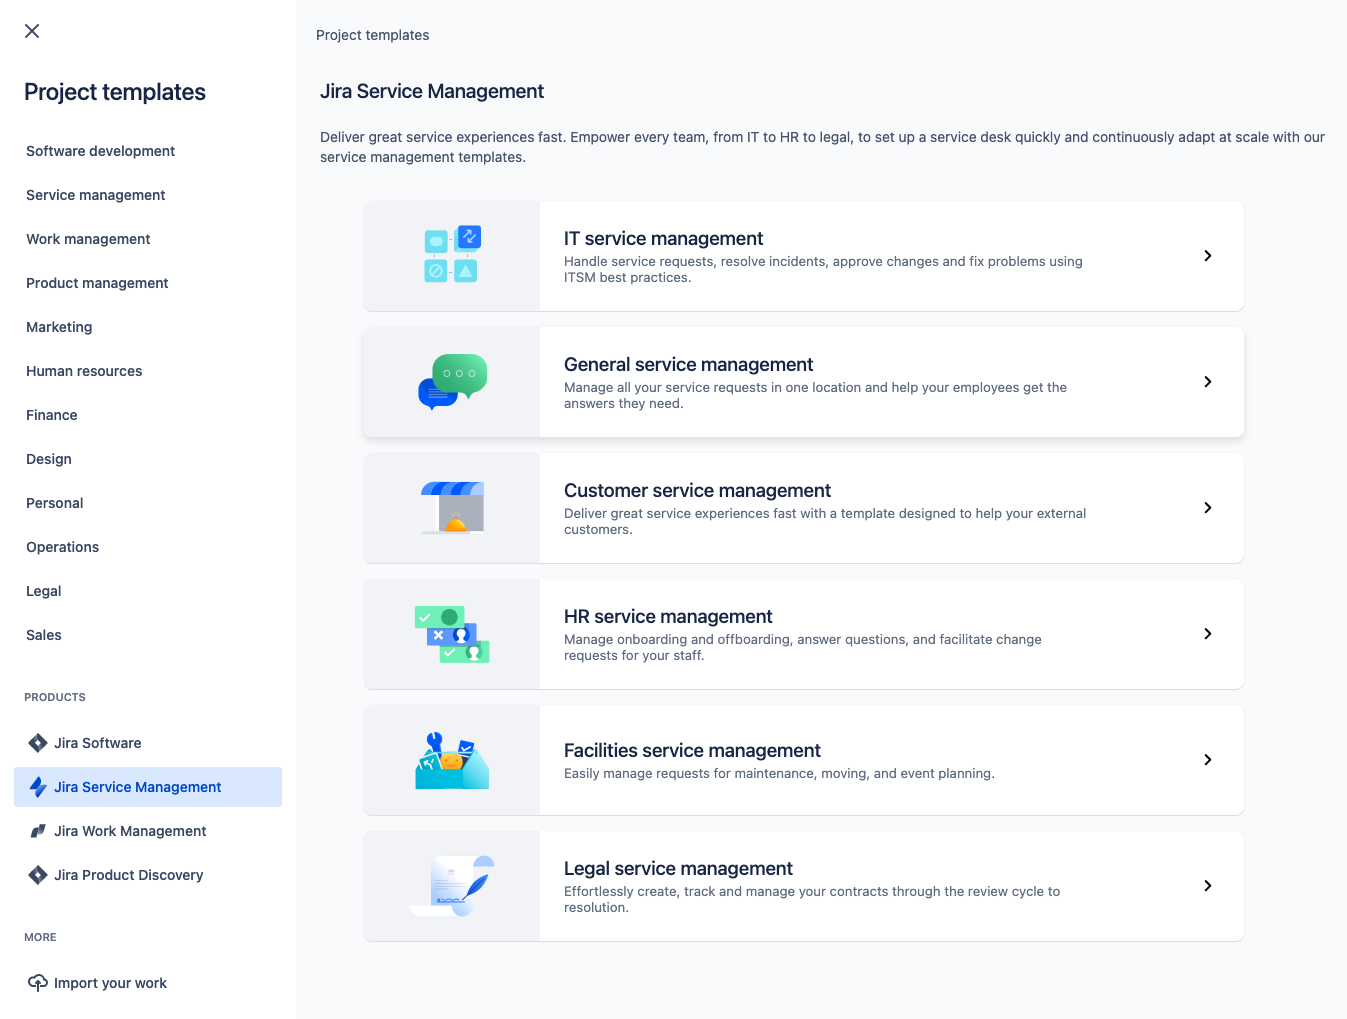
Select Jira Service Management from the left sidebar and choose General service management
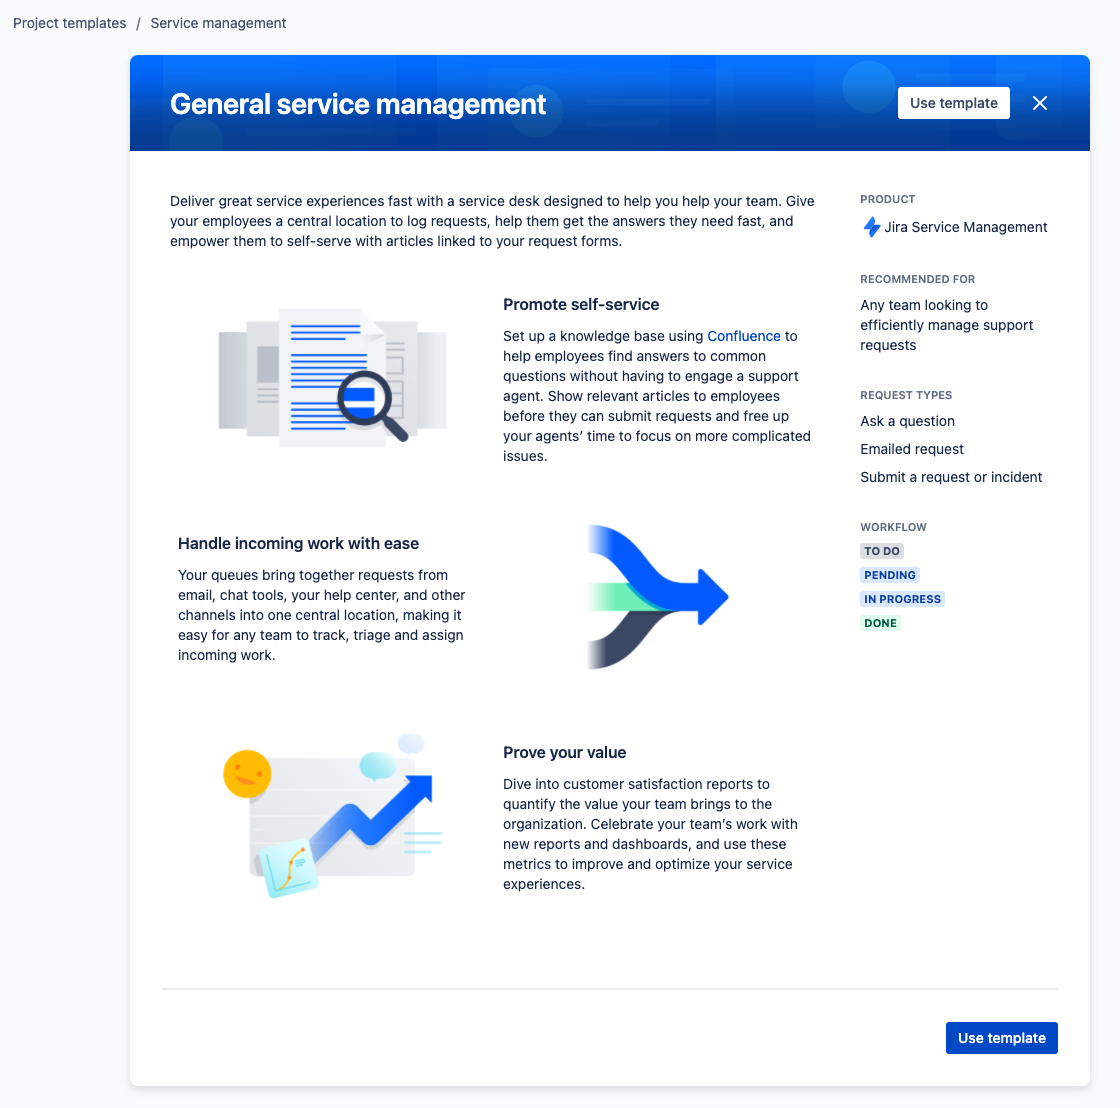
Click on Use template
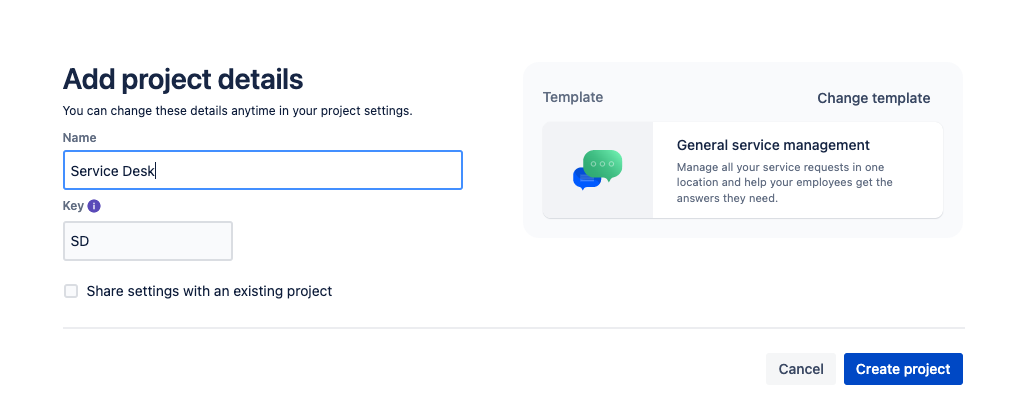
Fill in the fields and click on the Create project button
Name: Service Desk
Key: SD
2. Update the issue types associated with the project
To make things simple, we will remove all the issue types except the Task issue type
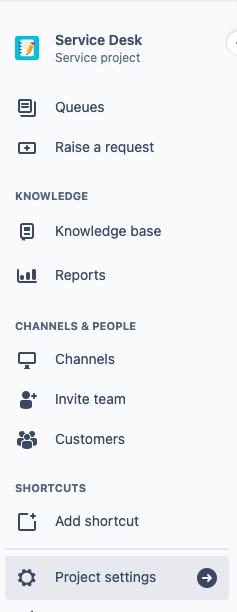
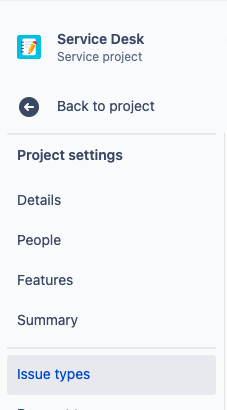
Click on the Project settings on the left sidebar of the newly created project
Select Issue types from the left sidebar
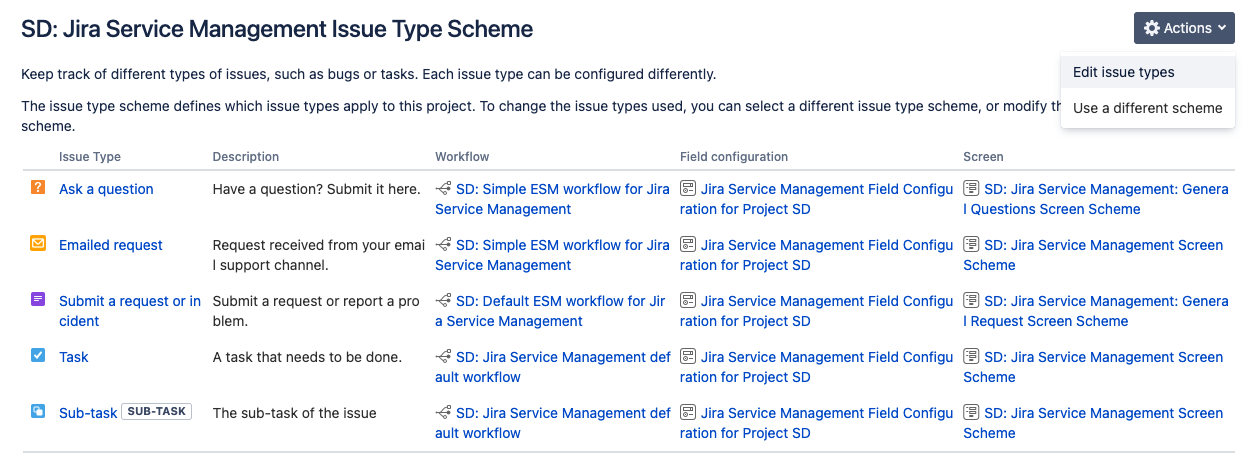
Select Actions > Edit issue types
Drag all the issue types except Task from the left column to the right column
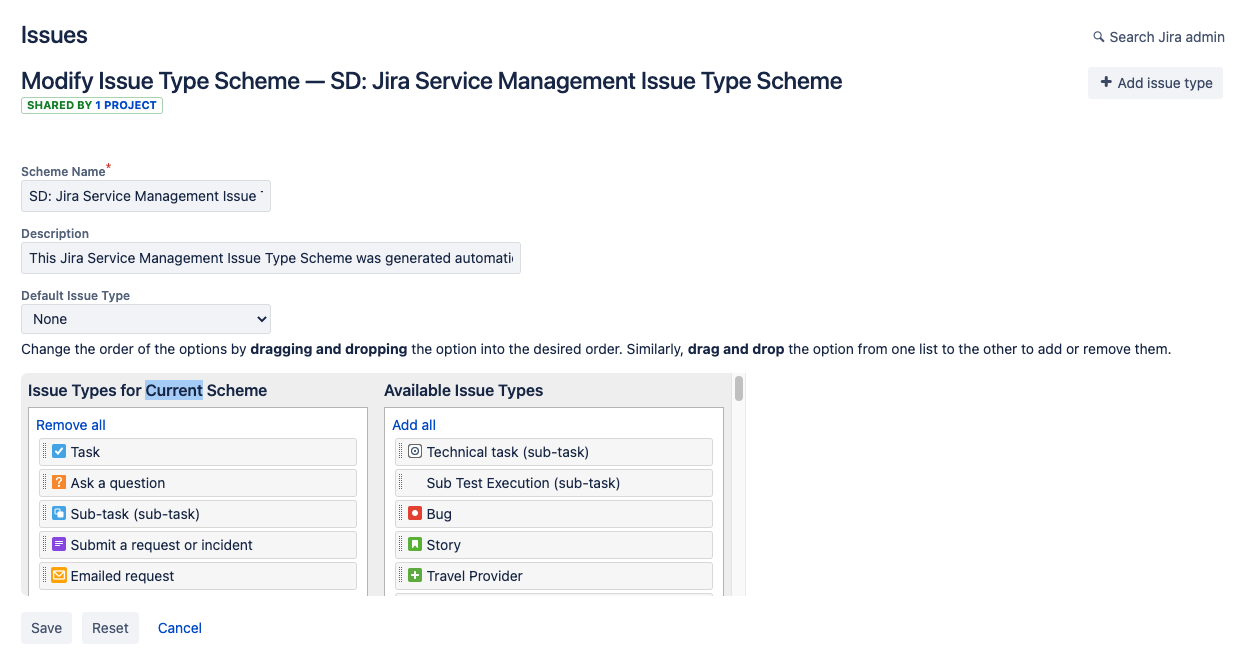
Click on the Save button below
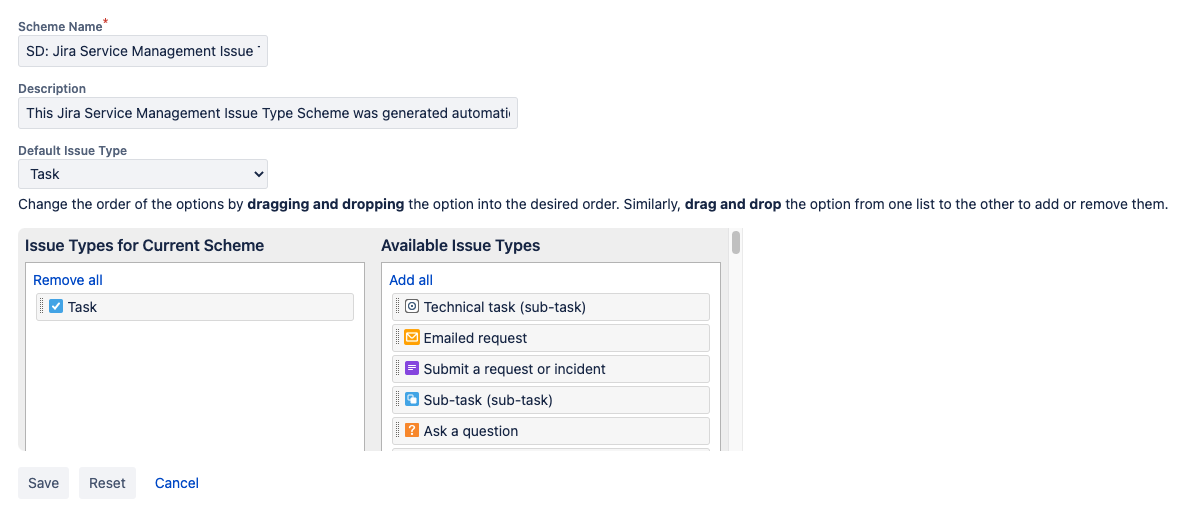
Now only Task issue type is configured in this project

3. Update the screens for the project
We will need to add the fields required in the screen
Select the Screens on the left sidebar
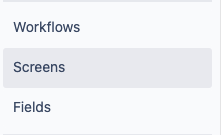
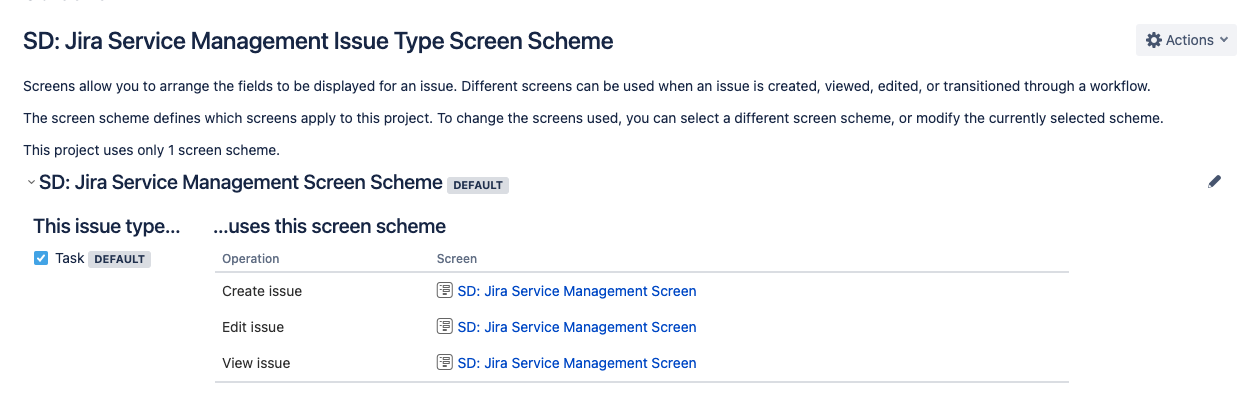
Click on SD: Jira Service Management Screen link to display the fields in the screen
Add and remove the fields such that they appear like the screenshot below
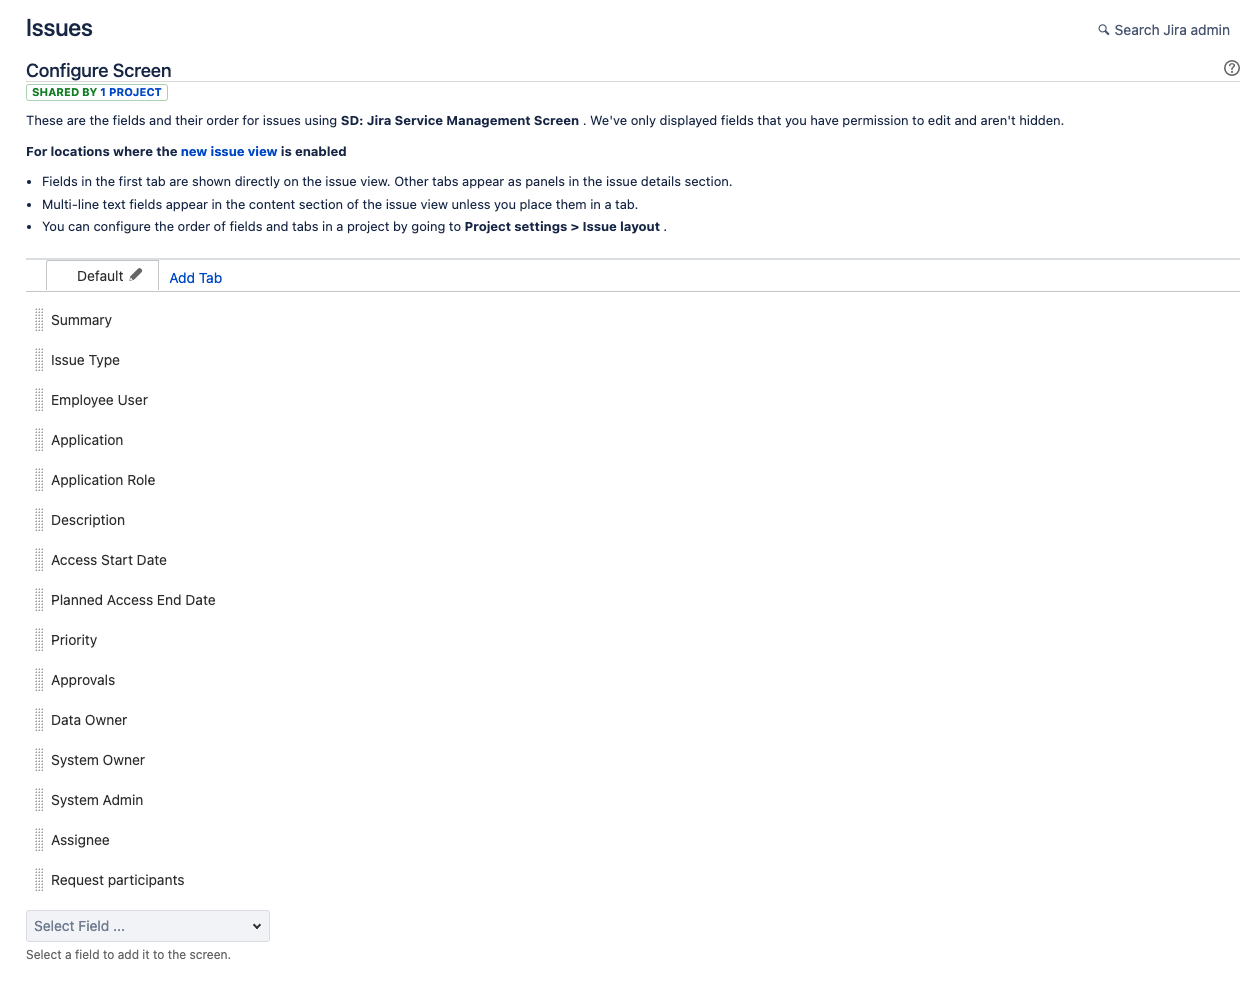
To facilitate data entry, the list of fields are available below
Summary
Issue Type
Employee User
Application
Application Role
Description
Access Start Date
Planned Access End Date
Priority
Approvals
Data Owner
System Owner
System Admin
Assignee
Request participants
4. Disable the email channel
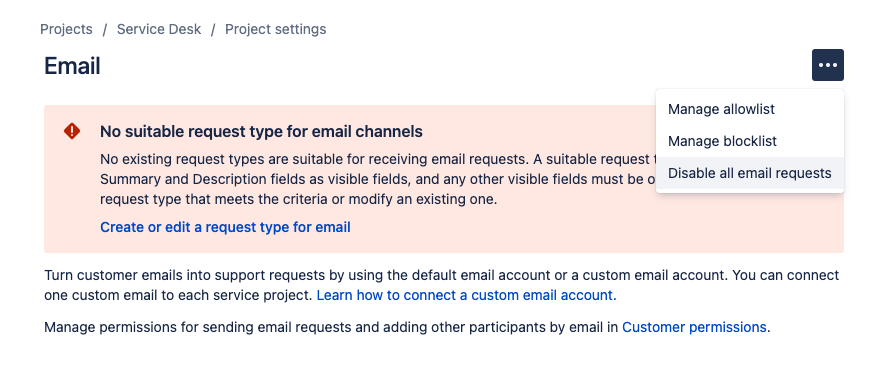
Because we have removed some of the issue types in the previous step, the email channel no longer exists. So we will turn off the email channel
Go back to the Service Desk project using the top menu

Go back to the Project Settings

Select Email requests from the left sidebar
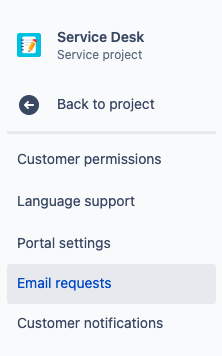
Click on the … and select Disable all email requests
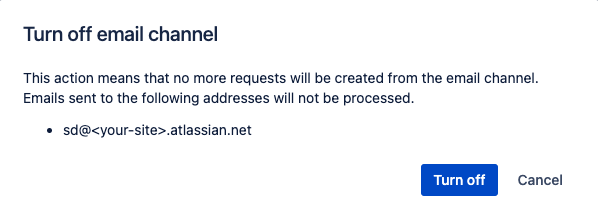
Click on the Turn off button
5. Updating the Request type
The request type controls what is displayed to the customers in the Customer Portal.
We need to clear the existing request types and create a new request type to link to the Task issue type
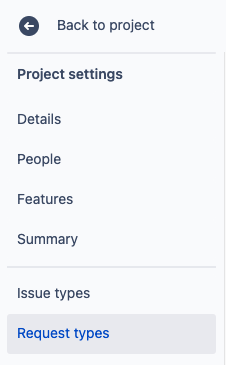
Select Request types from the Project settings sidebar
Click on the Create request type button

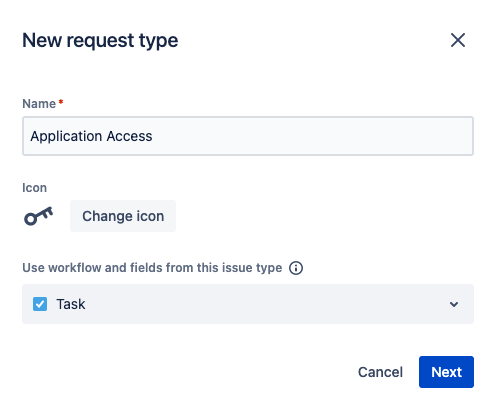
Fill in the dialog and change the icon and click on Next
Fill in Name: Application Access
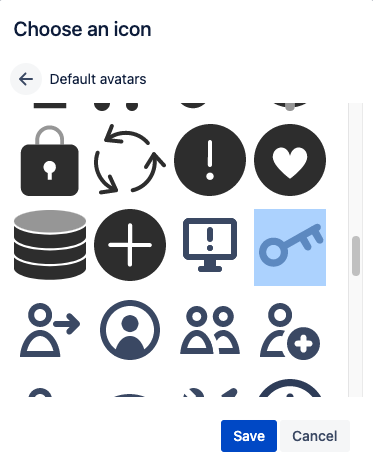
Click on the Change icon button
Select the … to choose more icons
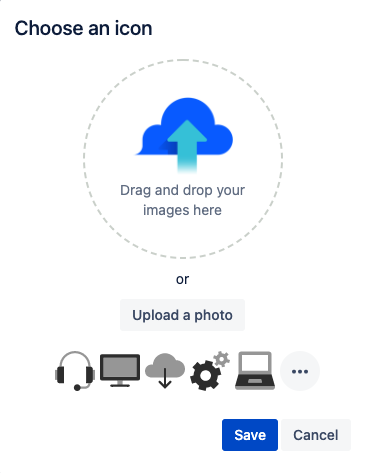
Select the key icon and press Save
Press Next button
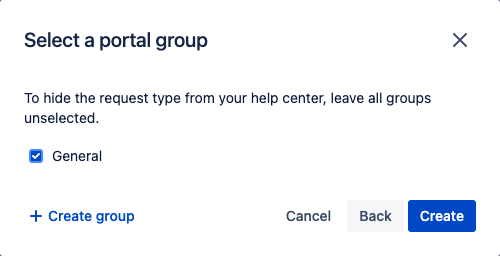
Click on the General checkbox and click on the Create button
Click on the Request form tab
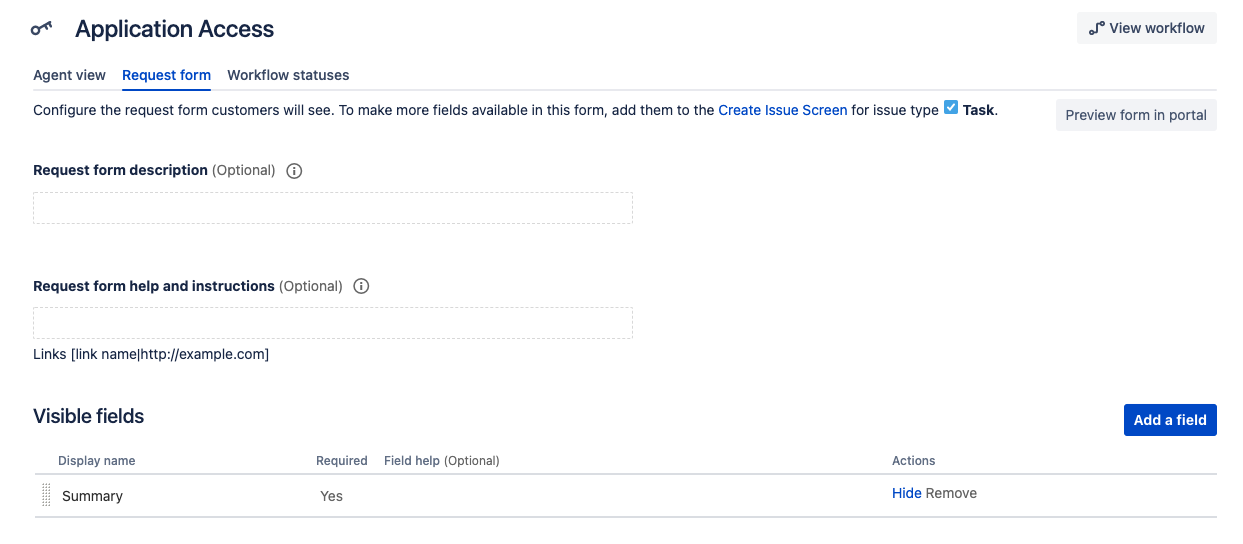
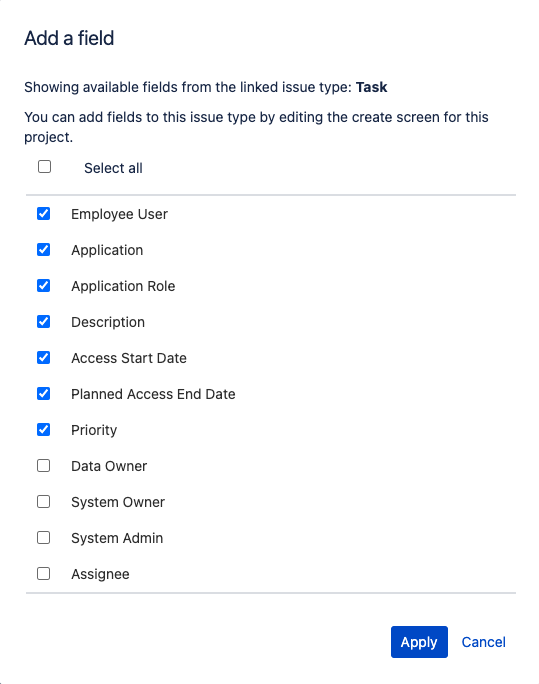
Click on Add a field button
Select the checked fields and click on the Apply button
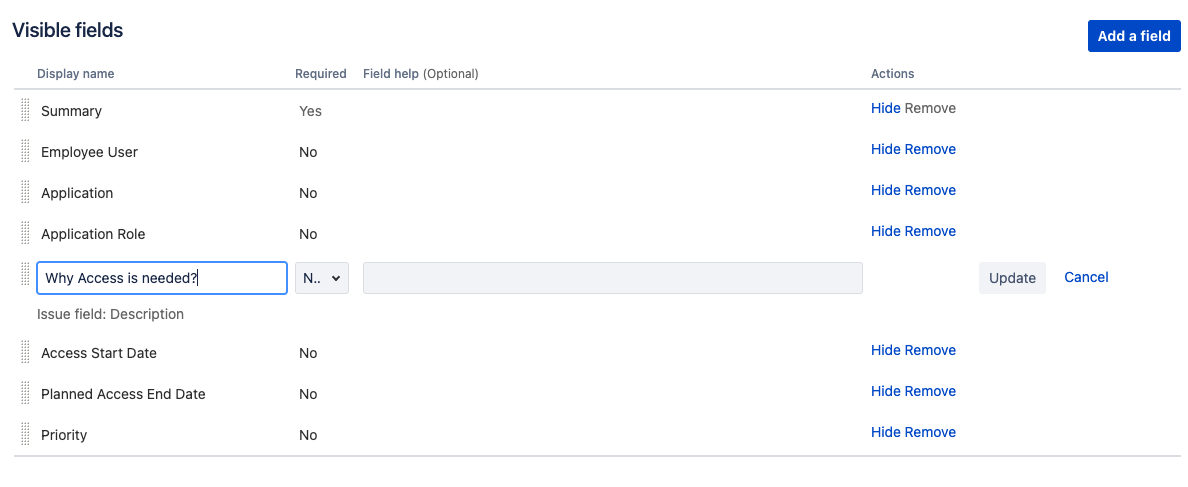
Click on the Description field and change the text to Why Access is needed? and then click on the Update button to save it
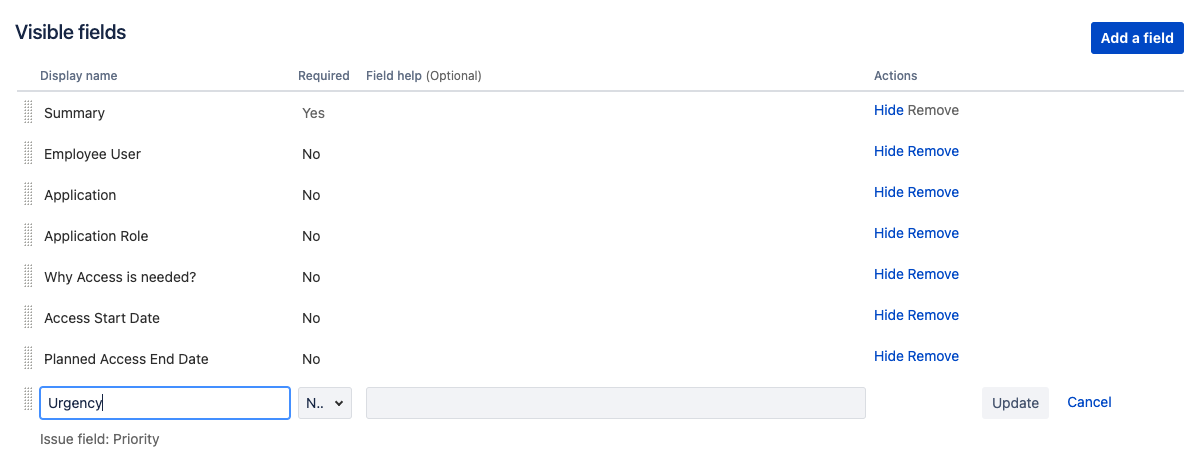
Click on the Priority field to change the text to Urgency and then click on the Update button to save it
Click on the Field help (Optional) column for the Access Start Date row to enter the text When do you need the access to start and click on the Update button
Click on the Field help (Optional) column for the Planned Access End Date row to enter the text When the access should be removed. You can leave it blank for perpetual access and click on the Update button
Change the following fields to Required
Employee User
Application
Application Role
Access Start Date
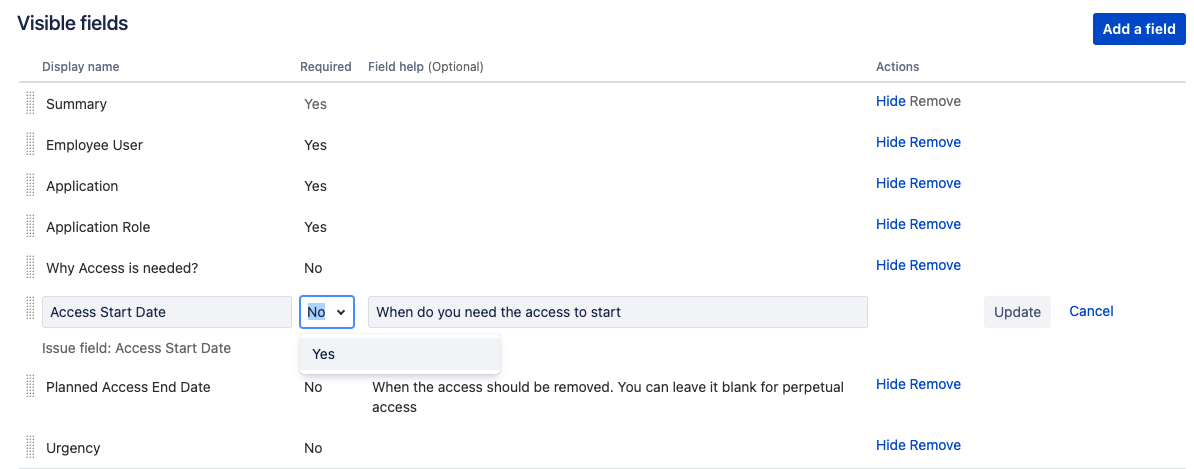
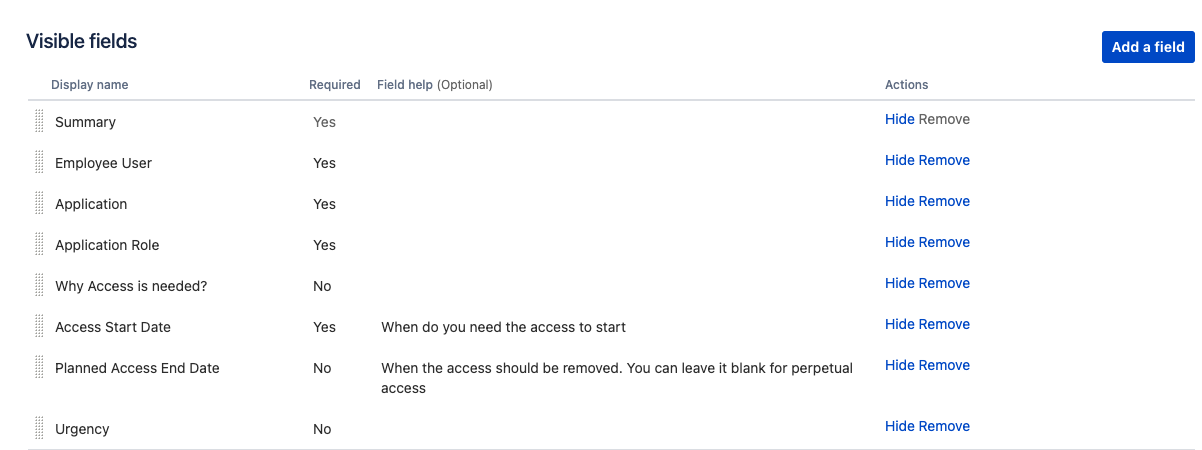
The list of visible fields should be as follows
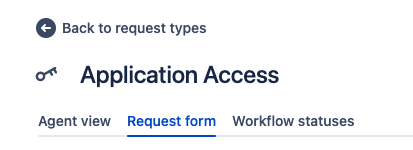
Click on the Back to request types at the top of the page
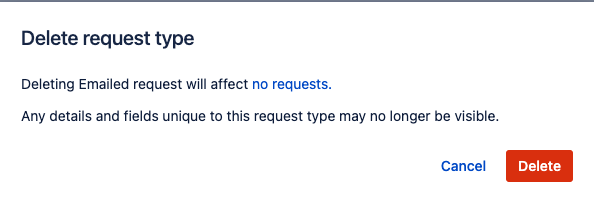
Delete all the 3 request types by clicking on the … and select Delete request type
Click on the Delete button again to confirm
Repeat Steps 14-15 until all the 3 request types are deleted
The request types screen should look something like this

6. Granting Customer permission
The default setup for Service Desk project is that the customers have to be added into the project. For this tutorial, we will change it to anyone who has an account on your Jira Cloud site
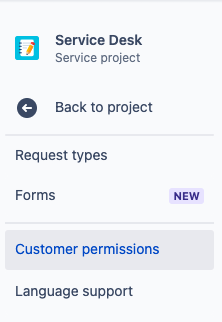
Click on Customer permissions on the Project settings sidebar
Change the Service project access to Anyone with an account on https://<your-site>.atlassian.net
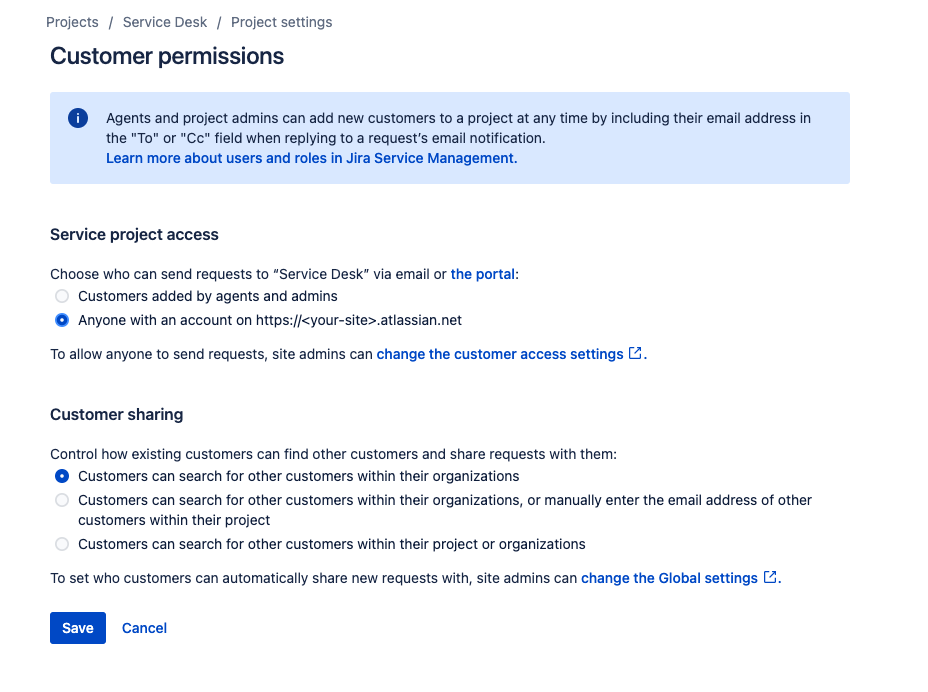
Click on the Save button
Next
Now you are ready to proceed to the next section - Section 4 - Updating the workflow for the Application Access Request issue type
