How to add a read-only view
Introduction
This guide explains how you can add a read-only view for the lookup table.
Scenario
I created a table to manage the applications used in the team.
Now I want to share the table with my team members, but I don’t want them to make any changes to the table.
How can I add a read-only view?
Pre-requisites
✔️ Jira Administrators permission to configure the table
How-to
Log in as a Jira administrator
Go to Administration > Issues > Configure Tables

Click on the Table Permissions > Manage Views
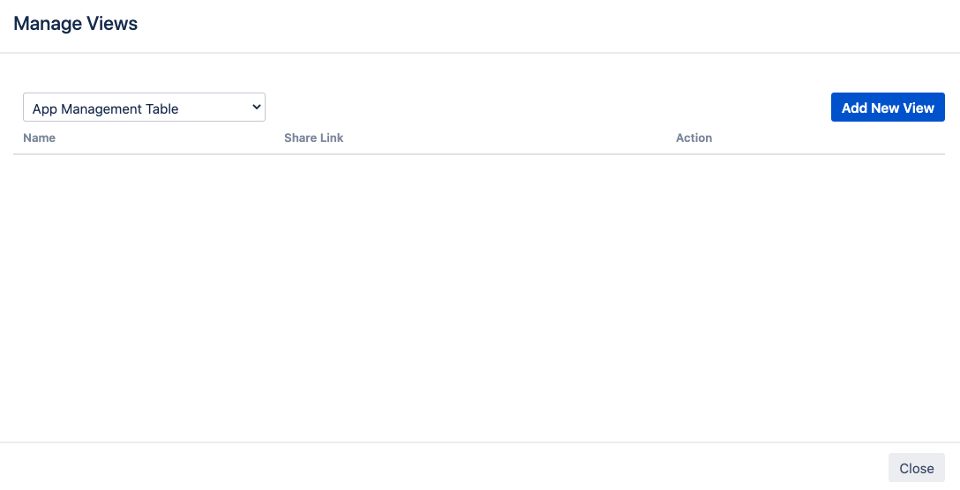
Select the lookup table from the dropdown and click on Add New View to open View Configuration Page
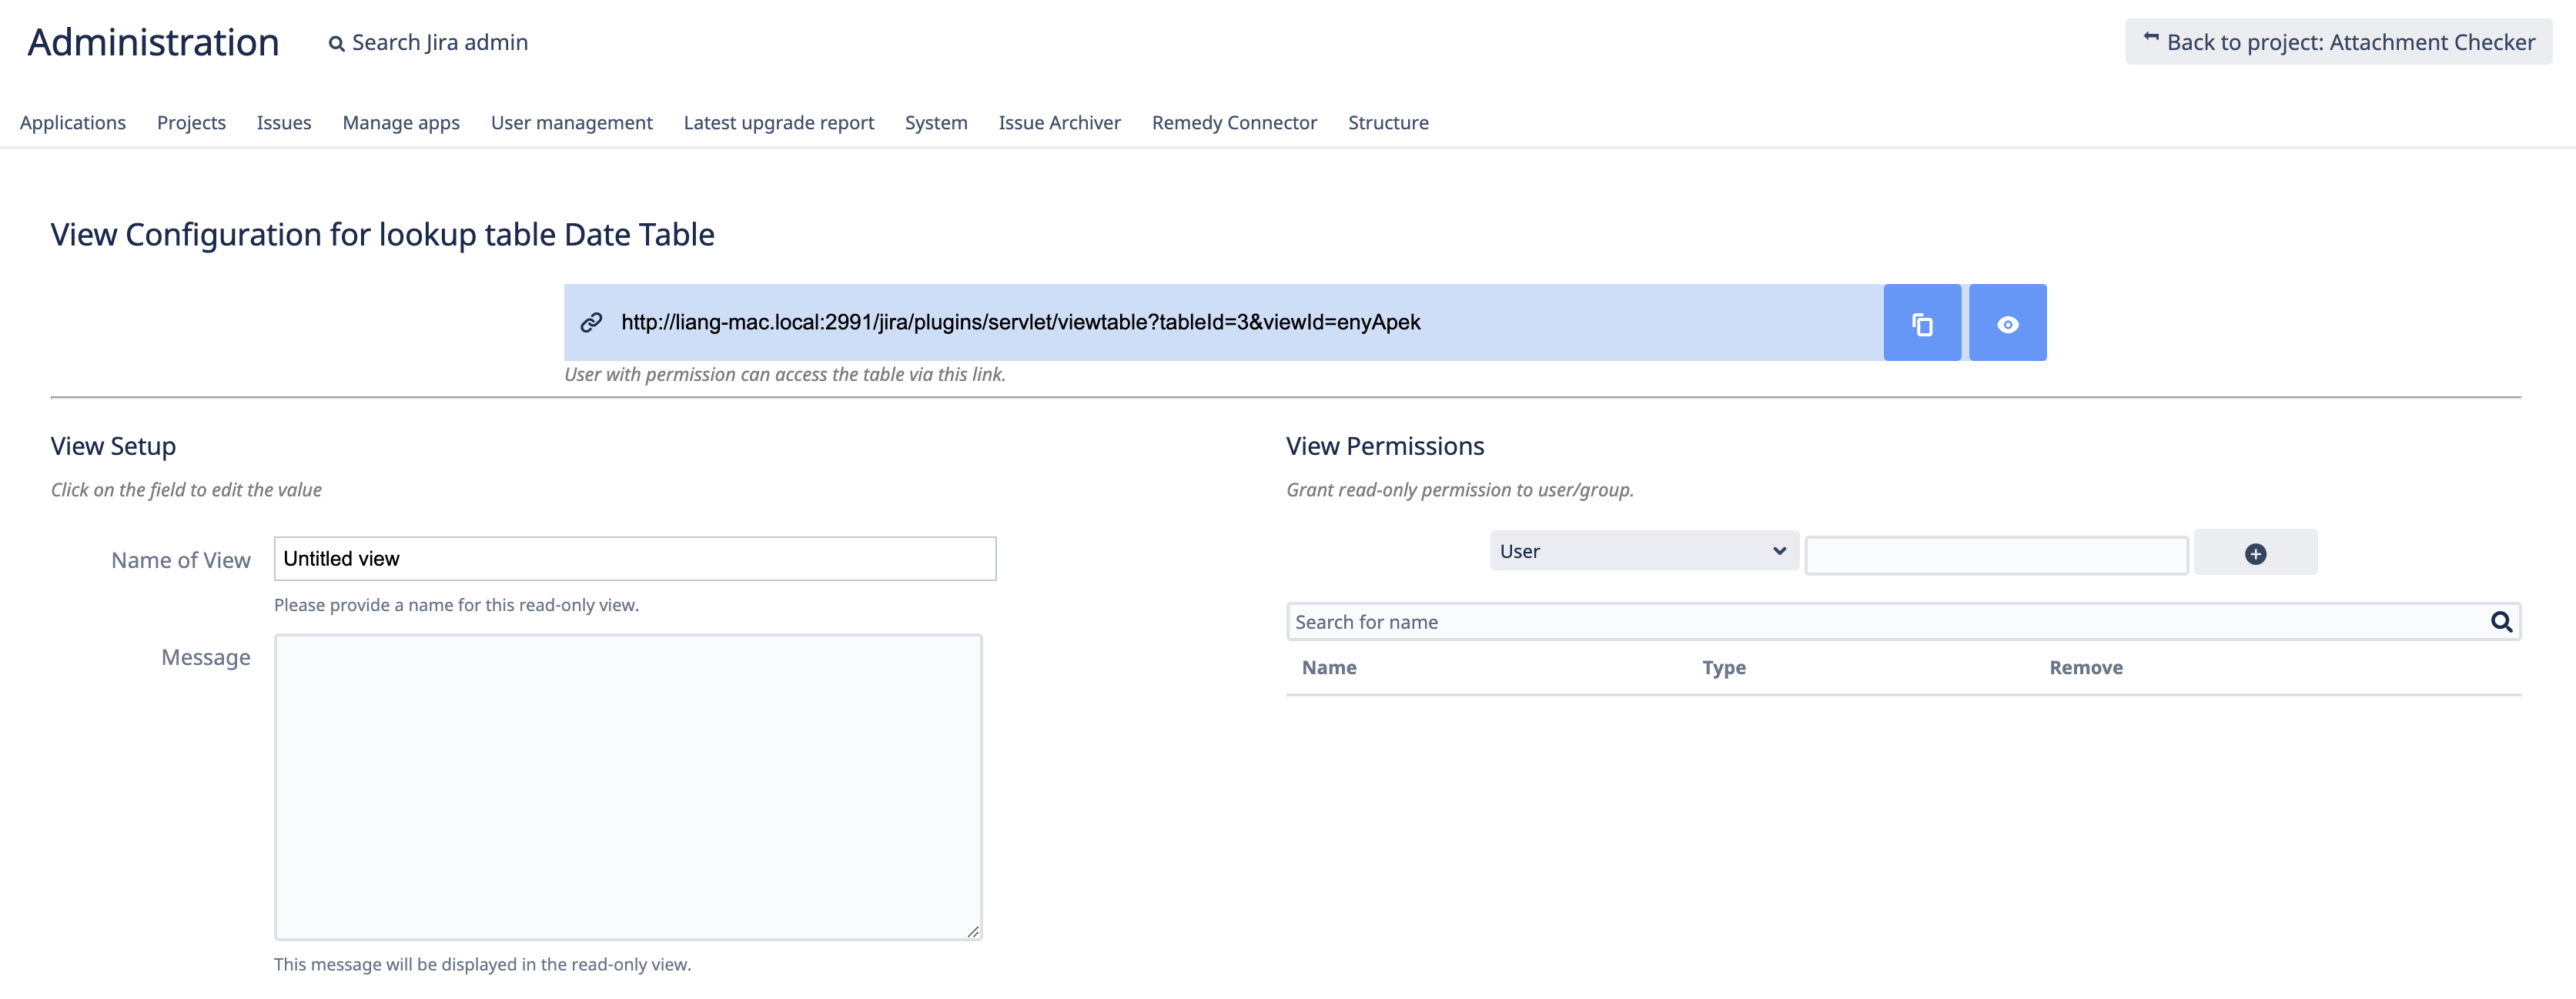
From the View Configuration Page, you can
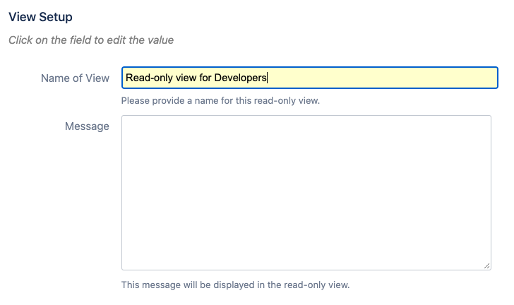
Provide a name for this view
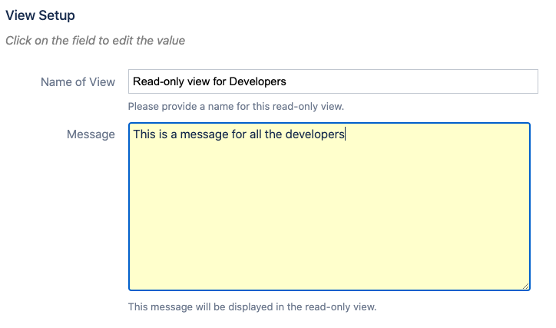
Provide a message that will be displayed below the table name in the read-only view
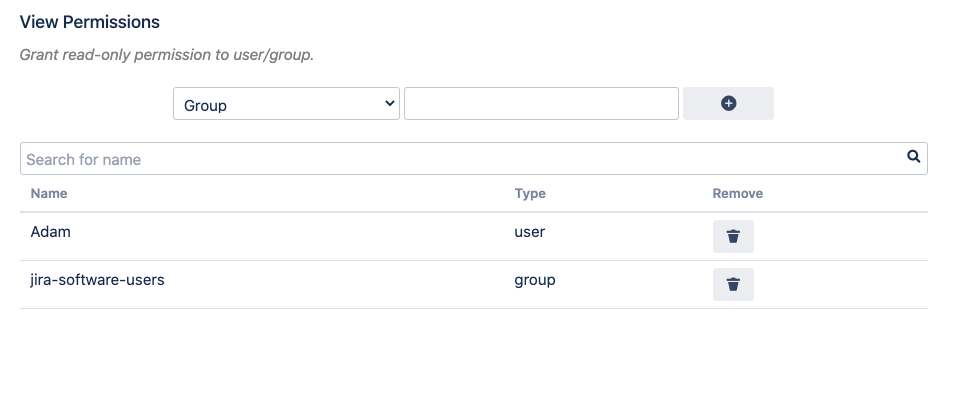
Grant read-only access to the user/group
Preview the read-only view

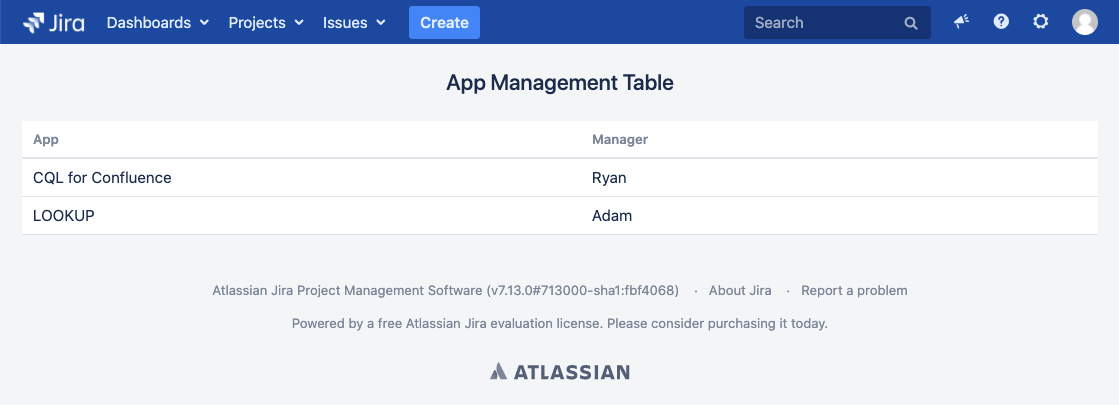
Copy the url and share it to others

