Install Plugin
By Upload
-
Download the latest version from Marketplace
-
Go to Manage add-ons.
-
Click on Upload add-on.
-
Select the .jar file.
-
Click Upload.
-
The Countdown Gadget should be installed.
-
Click on Configure and generate a free license key
-
Add gadget to dashboard and start using.
By Searching in Atlassian Marketplace
-
Go to Find new add-ons.
-
Search for Countdown Gadget in the search field.
-
Click Install to install.
-
Click on Configure and generate a free license key
-
Add gadget to dashboard and start using.
*Countdown Gadget for Jira is free.
License Configuration
License
A free license key is required in order to use the Countdown Gadget.
-
Request for a free license key at our service desk.
-
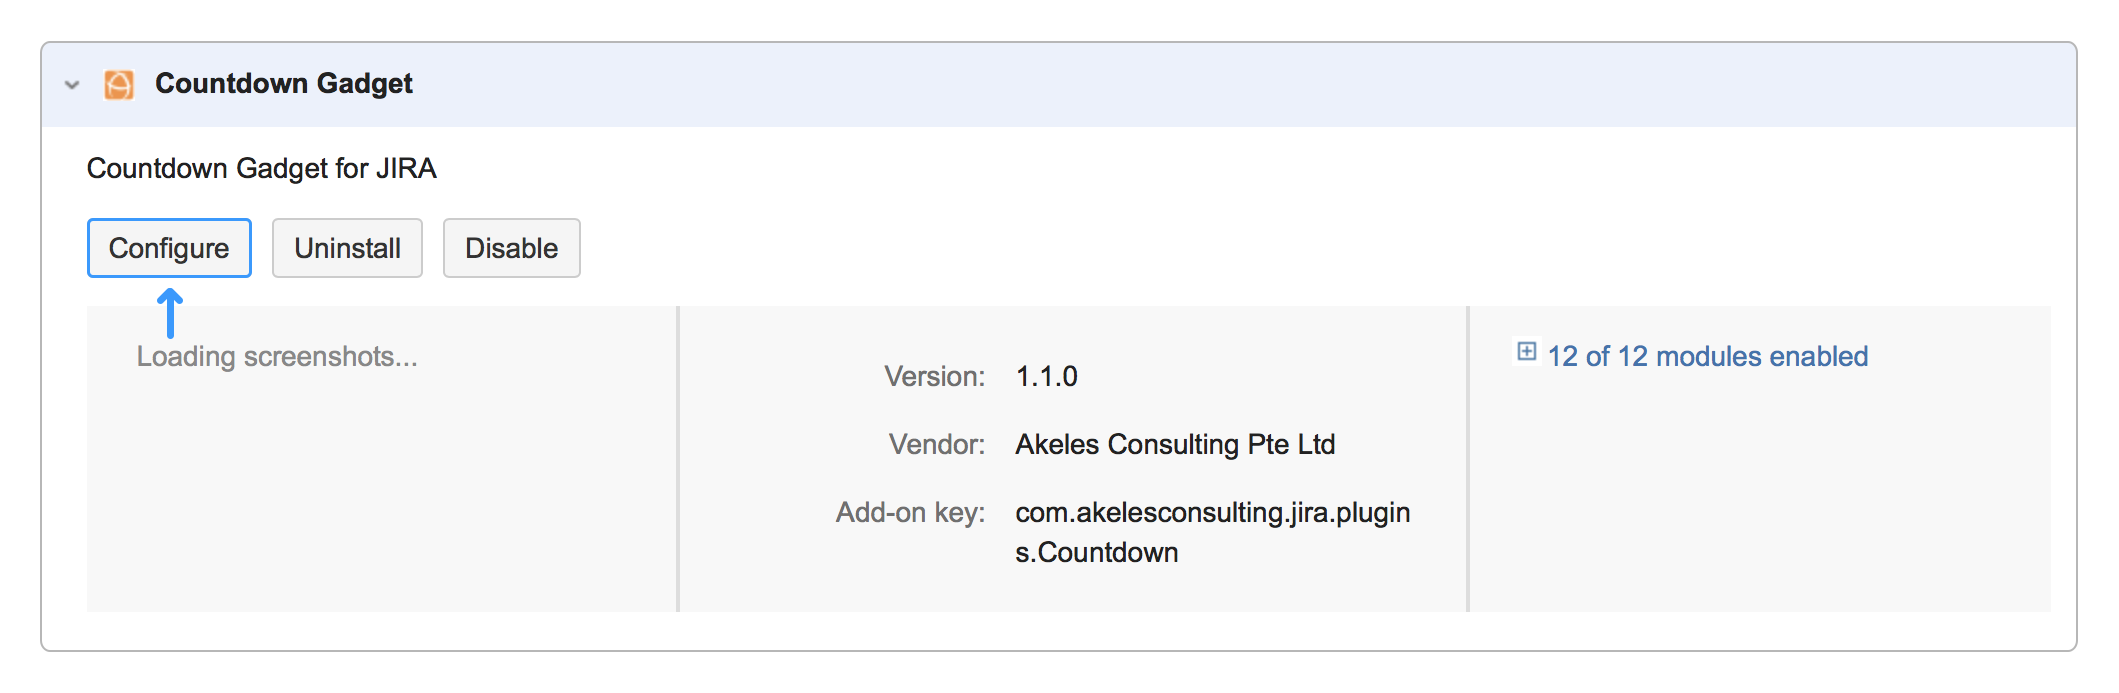
Go to Universal Plugin Manager.
-
Click on Countdown Gadget under User-installed Add-ons to expand the panel.
-
Click Configure.
-
Fill up the form.
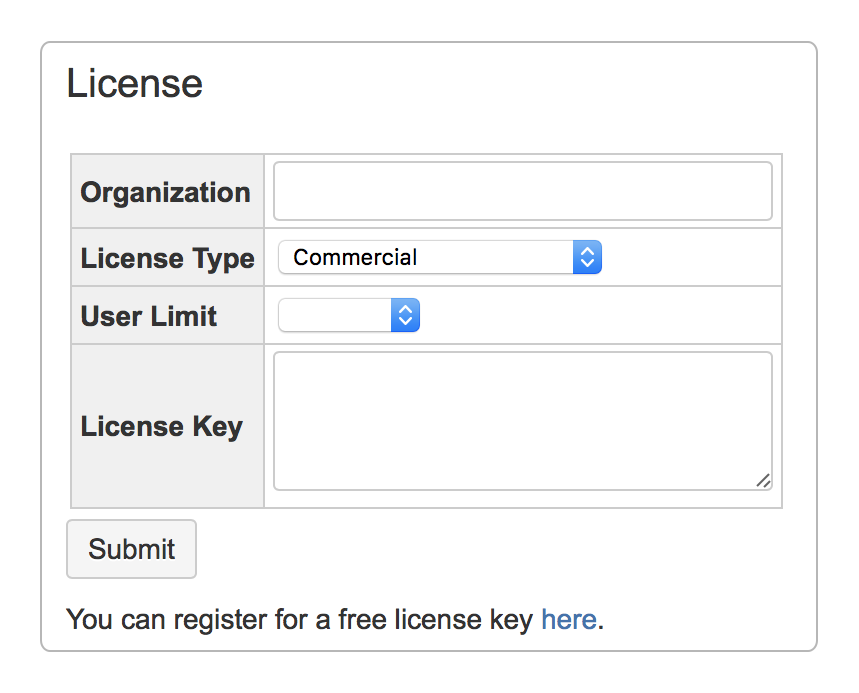
-
Click Submit.
Adding a new Countdown Gadget
-
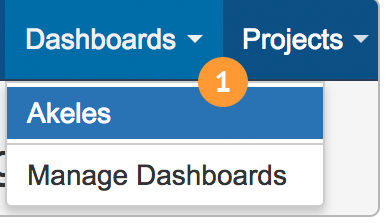
Click on Dashboard on the top left hand corner and select the dashboard that you would like to add the Countdown Gadget in.
-
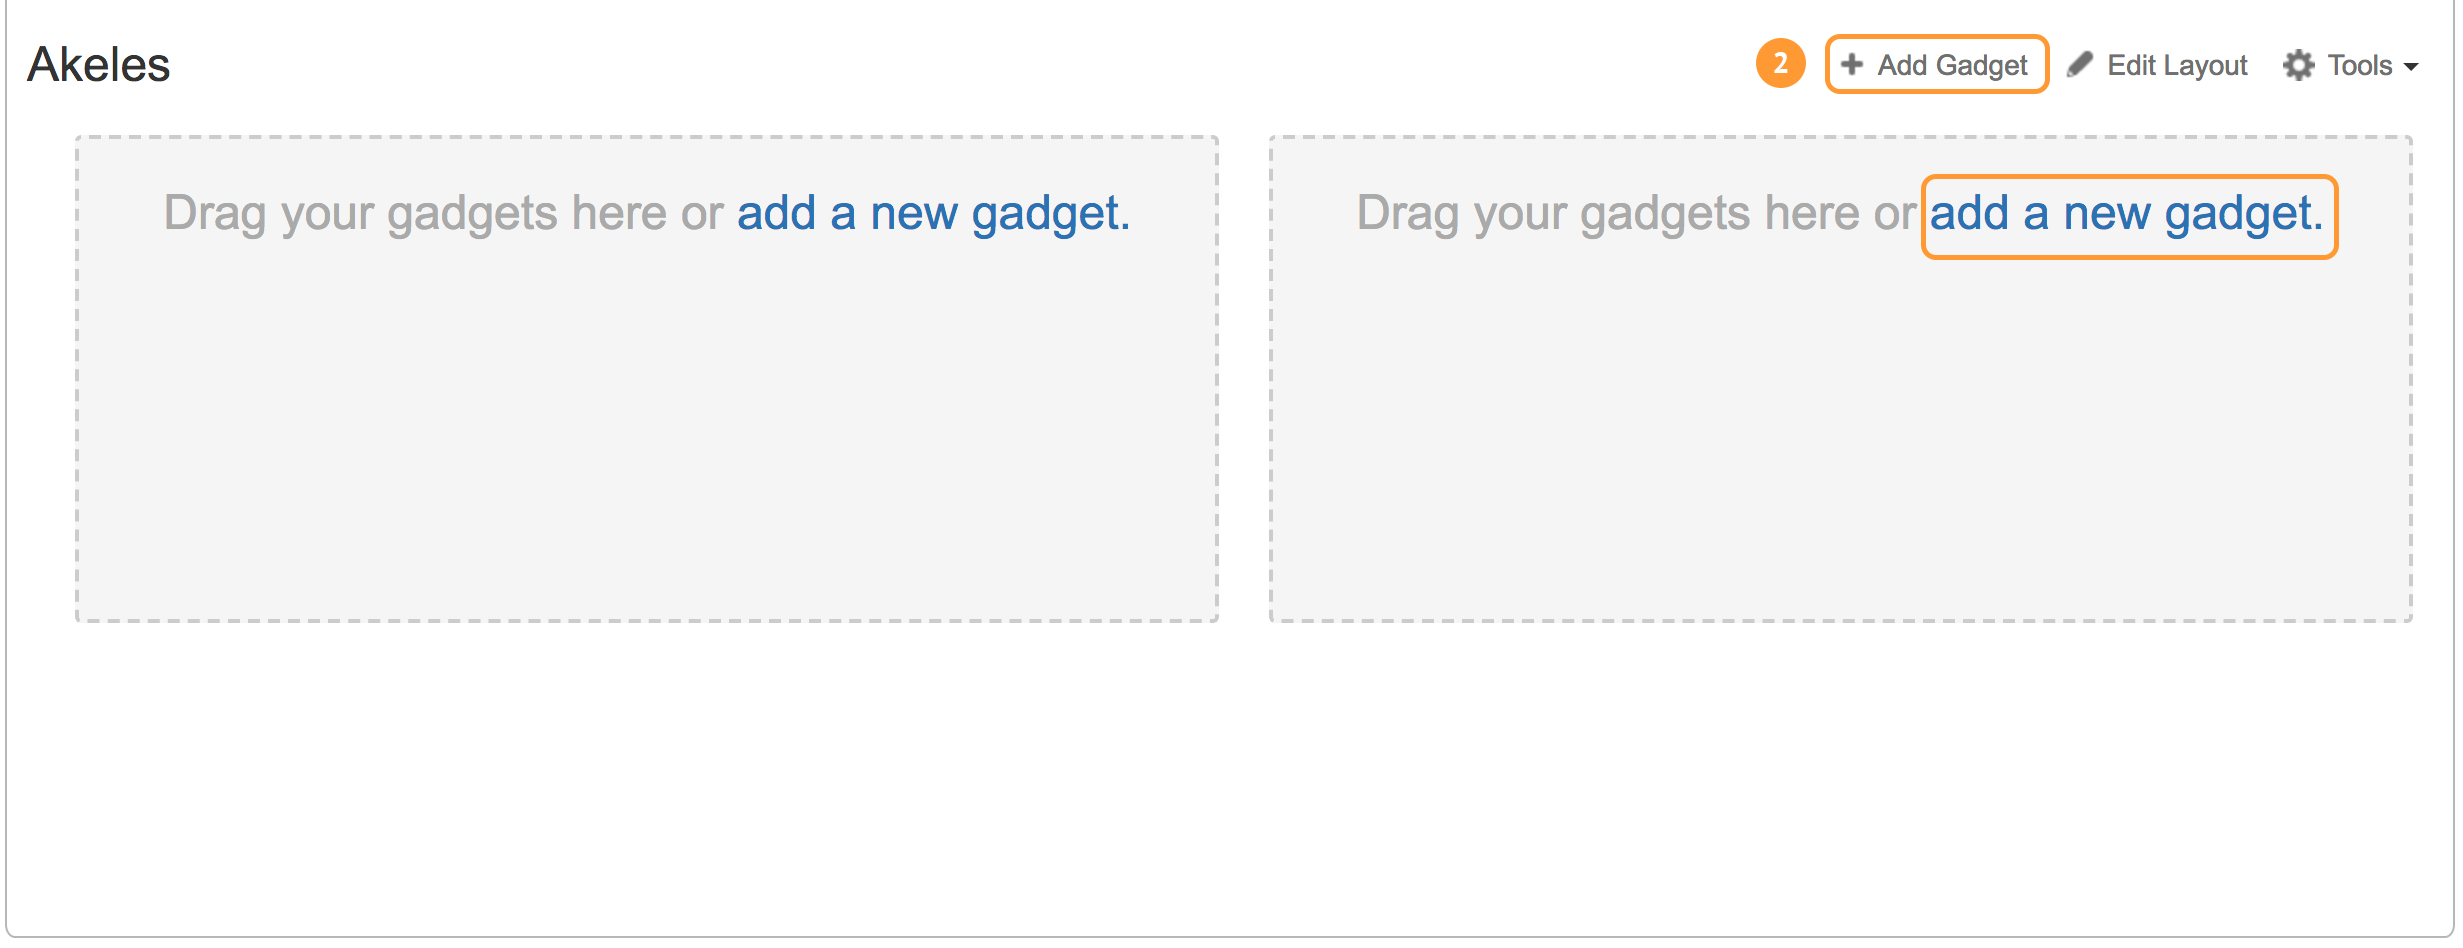
On the dashboard page, click on Add Gadget on the top right hand corner.
-
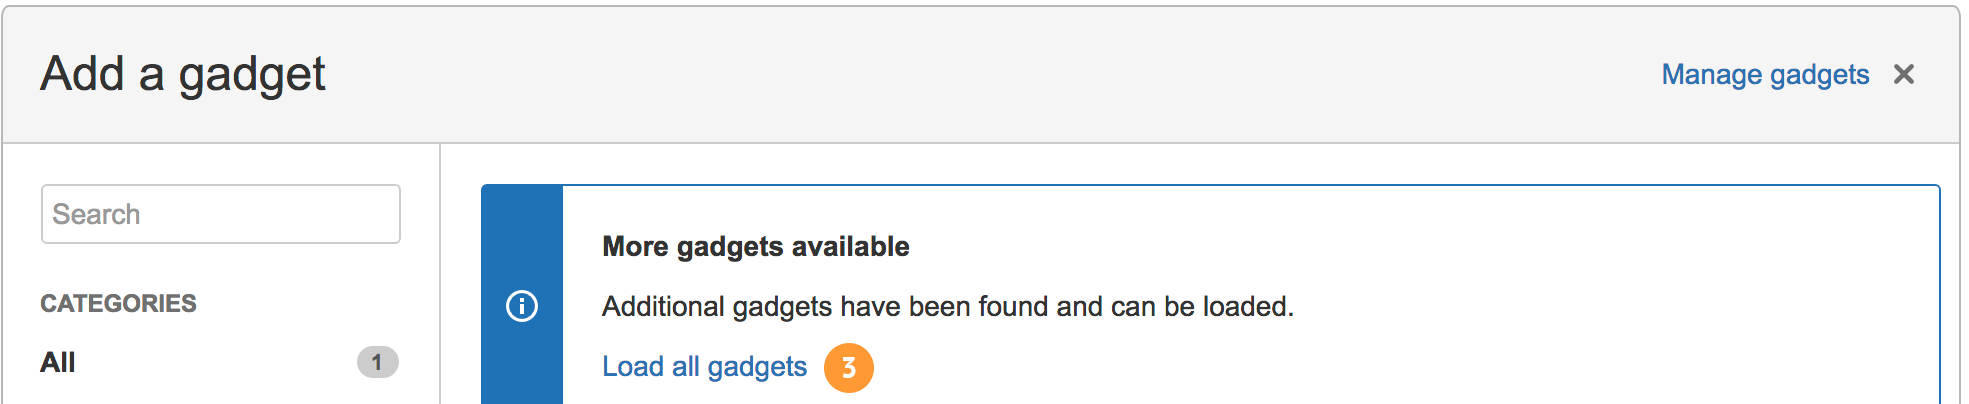
A dialog Add a gadget will appear. If there are more gadgets available, click on Load all gadgets.
-
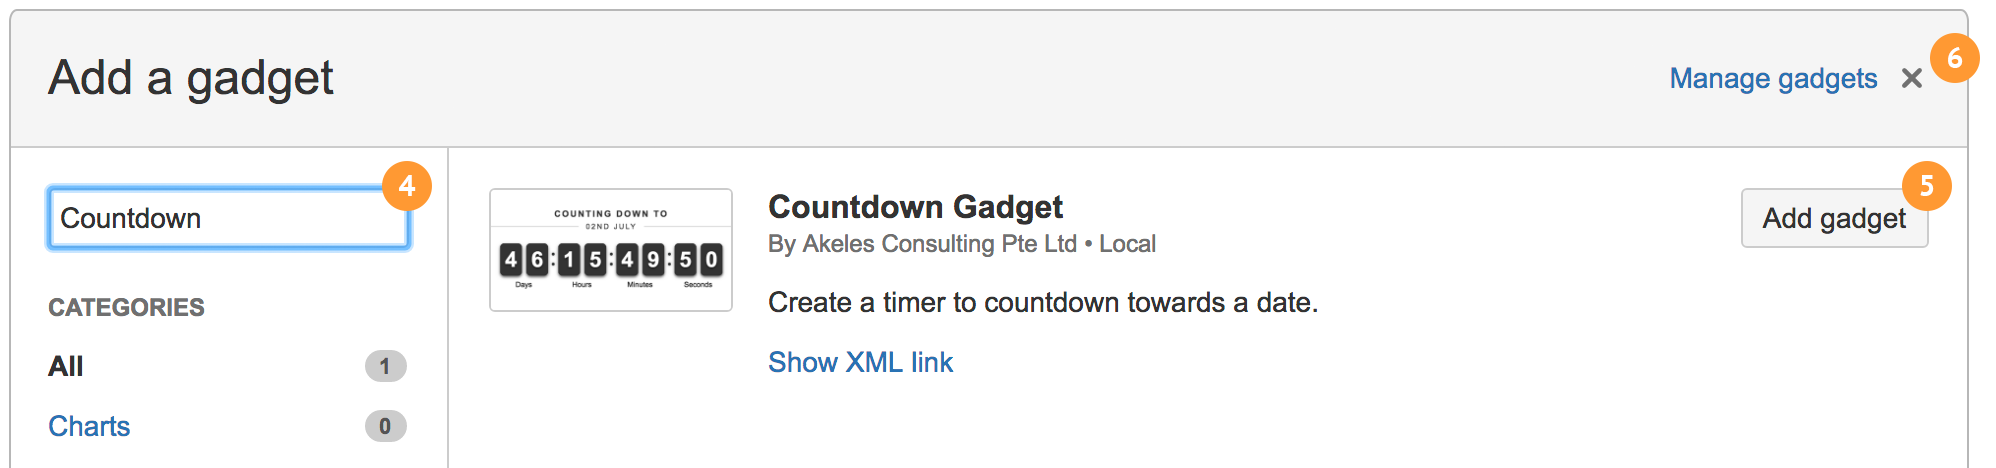
Search for Countdown Gadget in the search box or scroll through the list of gadgets.
-
Click on Add gadget button.
-
Click on the ✕ to close dialog.
Configuring the Countdown Gadget
-
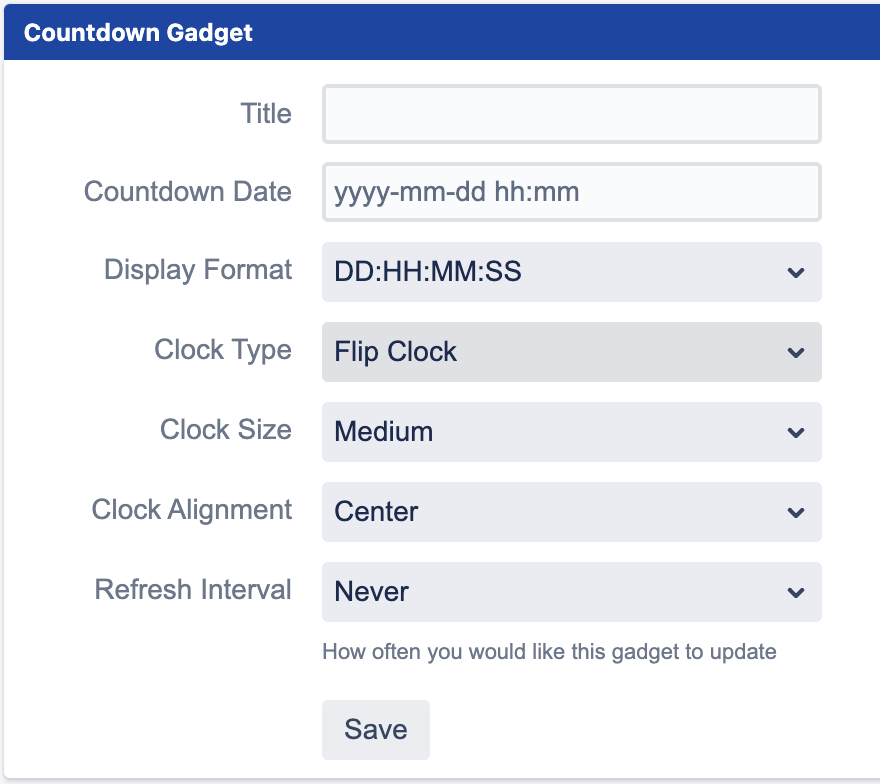
Fill in the parameters for the gadget. An explanation of the various options is provided in the table below.
-
Click on the Save button
|
Field Name |
Required |
Default Value |
Explanation |
|---|---|---|---|
|
Title |
|
|
The title of the event to countdown to. |
|
Countdown Date |
|
|
Select a date (yyyy-mm-dd hh:mm) to countdown to. |
|
Display Format |
|
DD:HH:MM:SS |
Select the display format of the time till countdown date:
|
|
Clock Type |
|
Flip Clock |
Select the type of clock:
|
|
Clock Size |
|
Medium |
Select the size of clock:
|
|
Clock Alignment |
|
Center |
Select the alignment of clock:
|